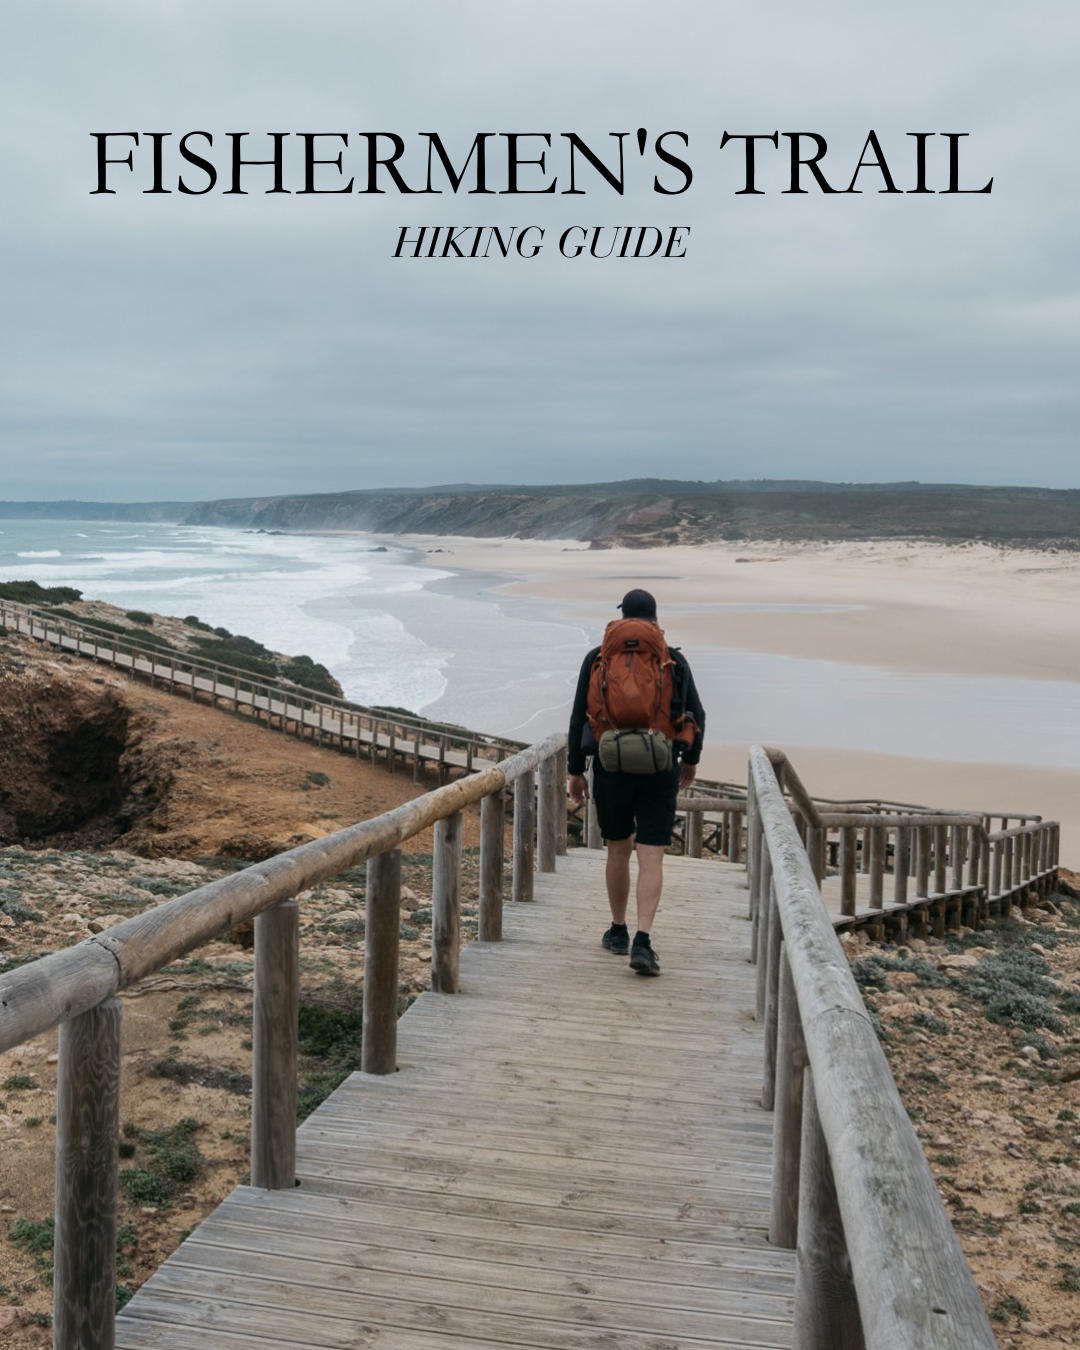
Find out all you need to know before hiking the Fishermen’s Trail in Portugal.
General information
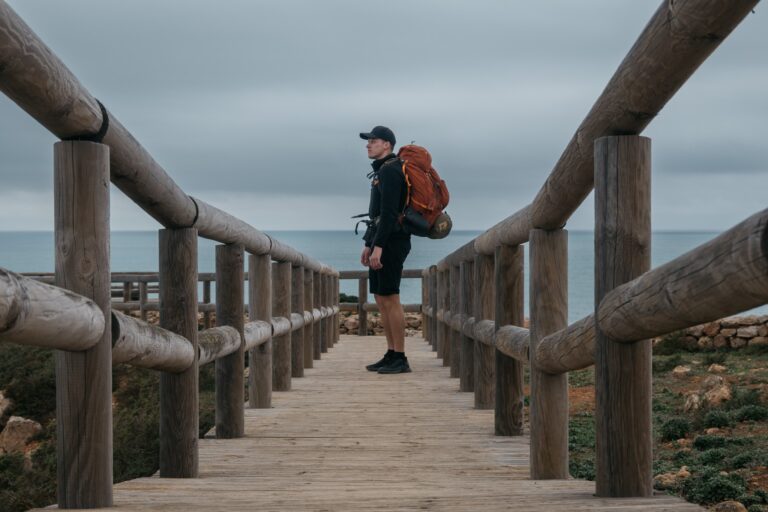
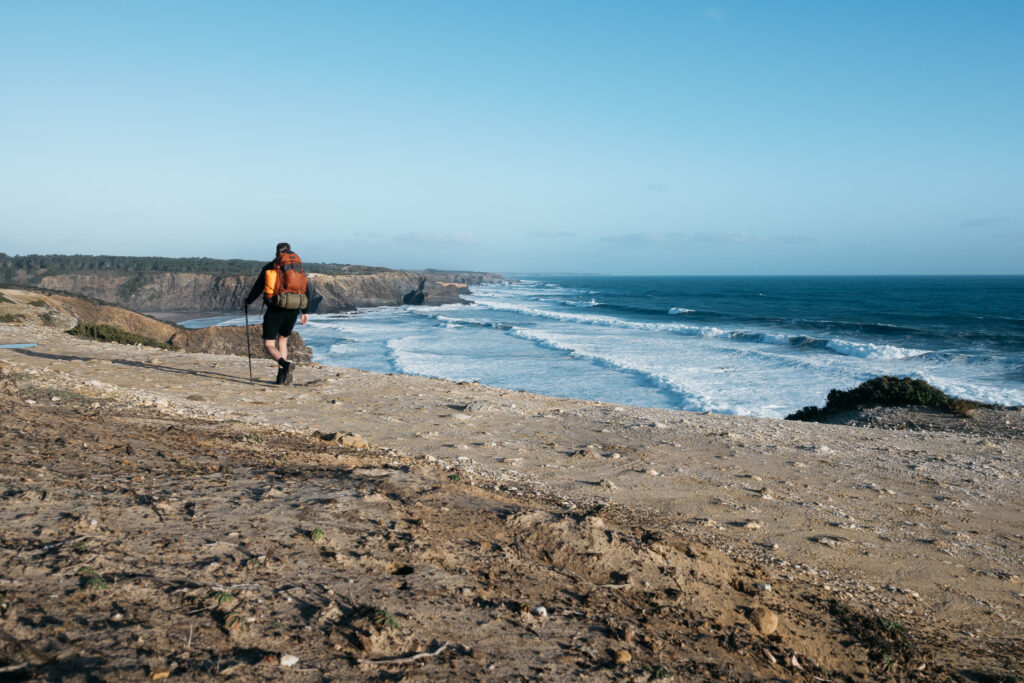
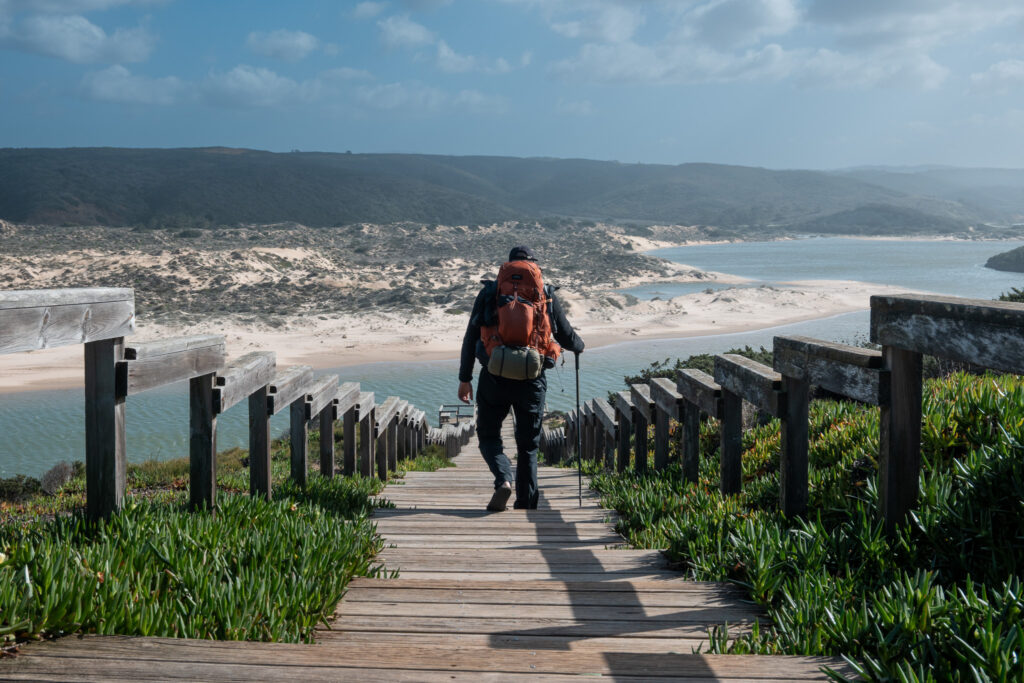
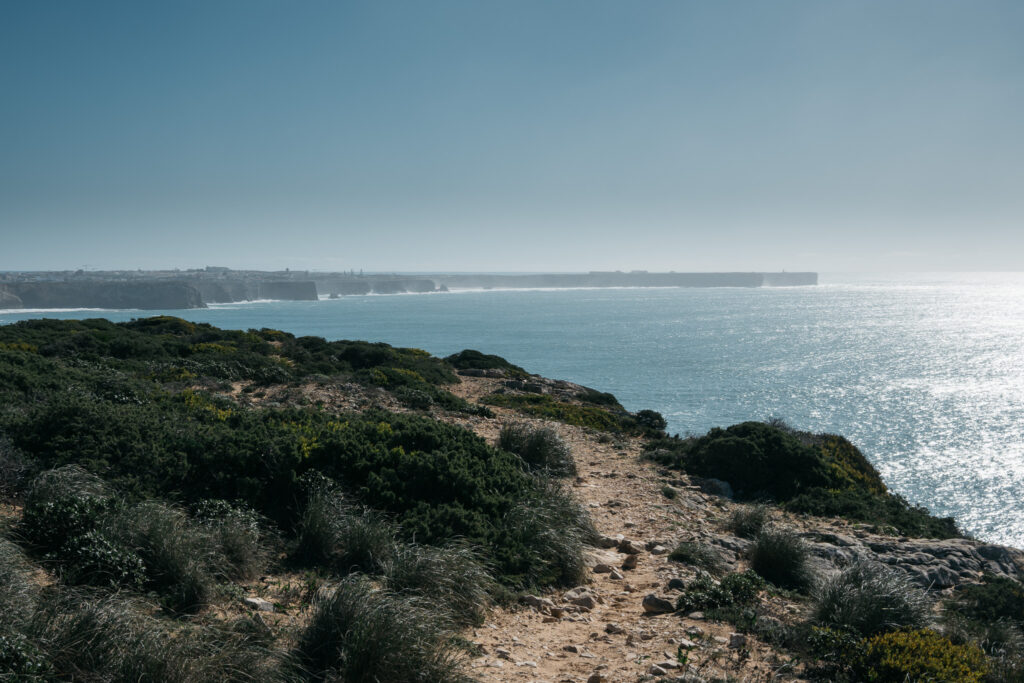
The Fishermen’s trail starts just south of Lisbon, Portugal. This beautiful hike takes you along the Portuguese coastline, with constant cliffs and ocean views. This region has some of the highest sunshine hours in Europe, which makes it perfect for your next hiking adventure.
The best time to hike the Fishermen’s Trail is during spring or autumn, when temperatures are more pleasant, ranging from 15 to 25 °C (60–77 °F). In spring, the landscapes are full of flowers, while autumn brings warm, golden tones.
That said, you can expect good hiking conditions year-round. Nights are mild and rarely get cold, while daytime temperatures are often warm and sunny. In winter, it can feel cool, especially when there’s lots of wind.
In contrast, summers can be very warm, with strong sun and high temperatures. While hiking is doable, you might want to start earlier to avoid walking in the heat.
Be prepared for lots of sun, strong winds, big waves, salty skin and of course, breathtaking views for the entire hike.
Getting to the Fishermen’s Trail
From Lisbon, you can easily reach the trailhead. Several bus companies run regular routes to coastal towns such as Sines, Porto Covo, and Odeceixe. The bus ride will take around 2.5 to 4 hours, depending on your destination.
One of the great things of this hike is its flexibility. You can simply choose where to get off the bus and start your hike from there. So, you can easily adjust the length of your hike. Whether you want to hike just a few stages or complete a longer section.
For example, you could start in Sines, or continue further south to Odeceixe or even Aljezur if you want to shorten the hike. This makes the Fishermen’s Trail very accessible for any hiker and suitable for any time frame.
North to South or South to North?
North to South
You can hike the Fishermen’s Trail either from north to south or from south to north. So, depending on where you start, you can fly to either Lisbon or Faro.
Hiking from north to south makes sense, as the southern sections near Aljezur, Vila do Bispo, and Sagres are especially beautiful. This way, the most scenic highlights are saved for the end, giving something to look forward to for the entire hike.
Hiking from north to south is the most popular choice among hikers.
South to North
You can also choose to hike the Fishermen’s Trail from south to north. In that case, you fly to Faro and take a train to Lagos (about €10 for the 2 hour ride). In Lagos you can start at the official trailhead.
Hiking from south to north also has its advantages. For example, less direct sunlight in your face, which is better for photography.
Similarly as hiking north to south, you also have the option to shorten your hike. For example, you can take a bus to Sagres or Vila do Bispo and start from there instead.
Also, it’s wise comparing flight prices to both Lisbon and Faro and see what works best for you. Flights to either destinations can be surprisingly cheap.
Where to stay?
Lisbon
I did this hike in February, and the weather wasn’t ideal. When I arrived in Lisbon, rain and strong winds were predicted for the next days. So I decided to stay in Lisbon longer and shorten the hike slightly.
During my time in Lisbon, I stayed in Home Lisbon Hostel, it’s a place I can 100% recommend. Great location, good price, clean, and lots of activities that make it easy to meet other travelers.
Lisbon highlights
If you have some extra time in Lisbon, there are plenty of beautiful places and activities nearby such as:
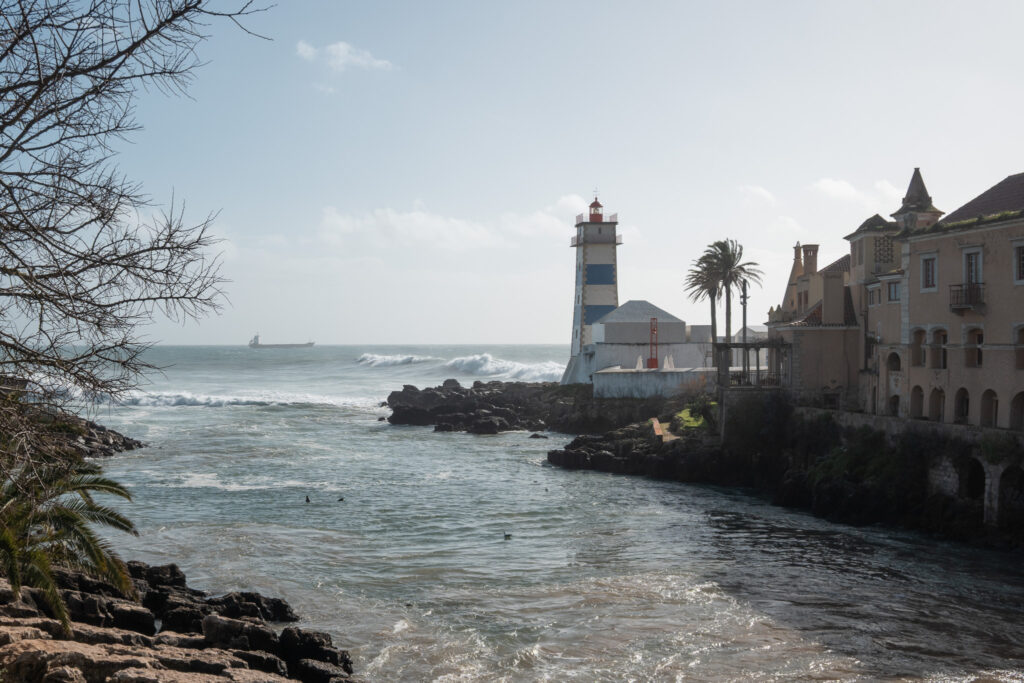
- Cascais: Just west of Lisbon, you’ll find this beautiful coastal town. On windy days the ocean shows its power, with big waves crashing into the cliffs. You can get here easily and cheaply by train from Lisbon.
- Sintra: is a short trip from Lisbon. This place feels like a completely different world. It’s known for its palaces and forests, it’s one of the most magical places in Portugal, and easy and cheap to reach by train.
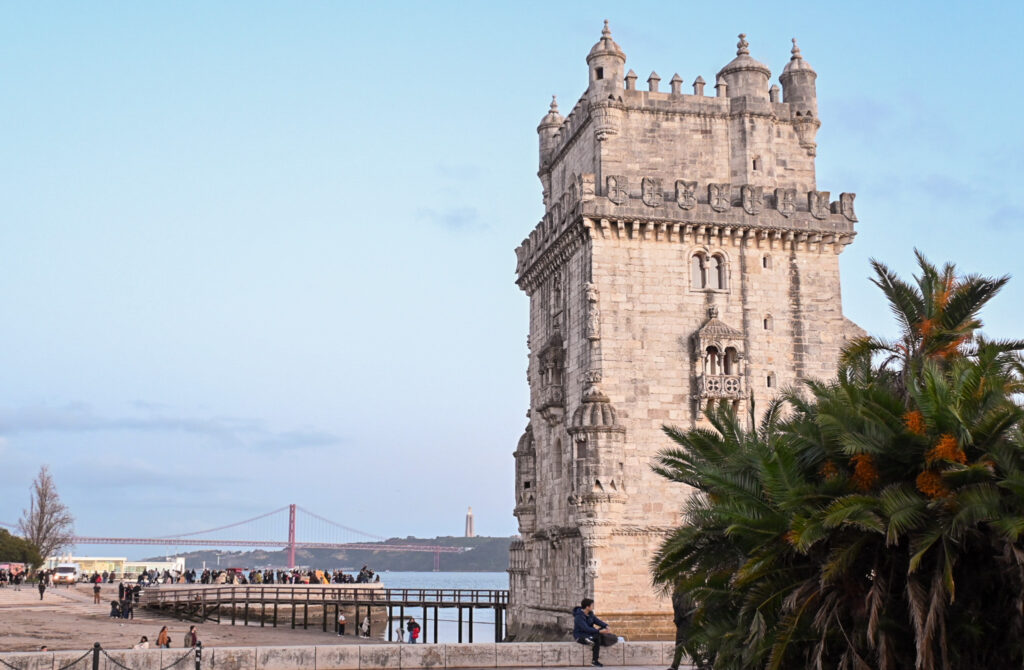
- Torre de Belém: one of Lisbon’s most iconic spots, located along the Tagus River. This historic tower dates back to the 16th century and once served as both a defensive fortress and gateway to the city.
- Cafés and restaurants:
– Pastel de Nata at Pastéis de Belém (the original comes from this place)
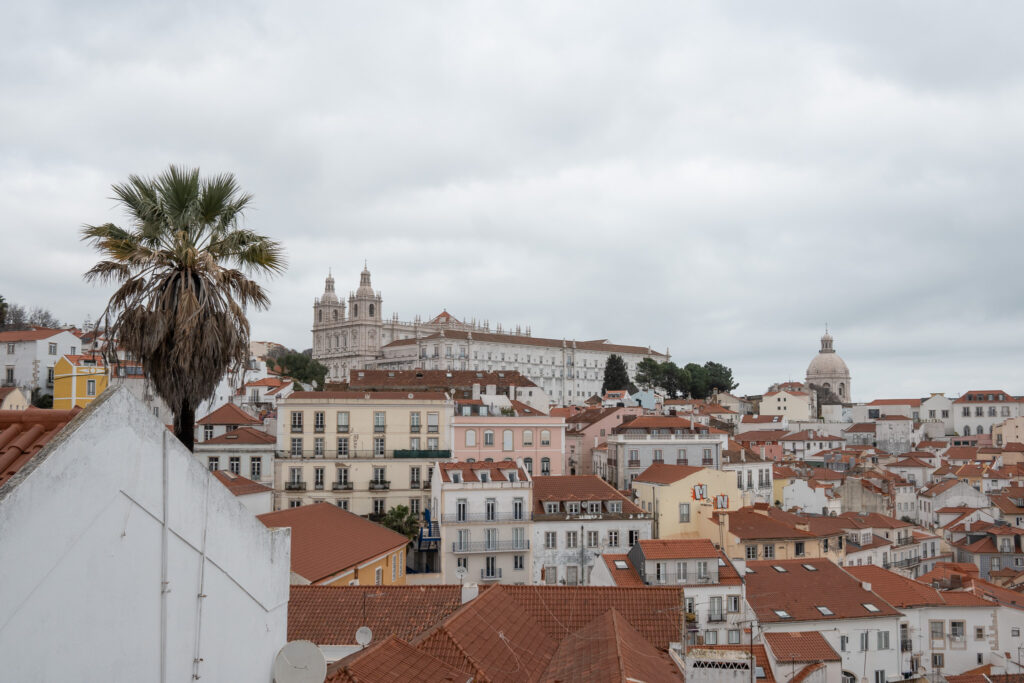
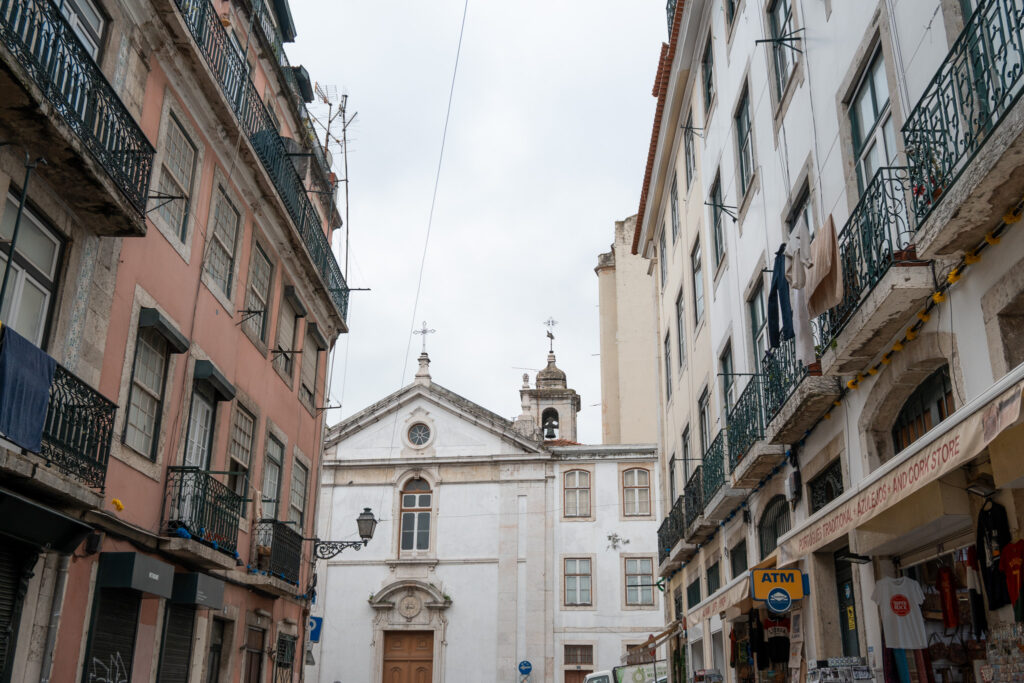
– Coffee shops in Alfama, arguably the most beautiful part of Lisbon
– The Coffee offers great coffee - The best Lisbon viewpoints, great as Fishermen’s Trail warm-up:
– Santa Luzia
– Senhora do Monte
– Graça - Other highlights:
– Arco da Rua Augusta
– Castelo de São Jorge
Best hostels on the Fishermen’s Trail:
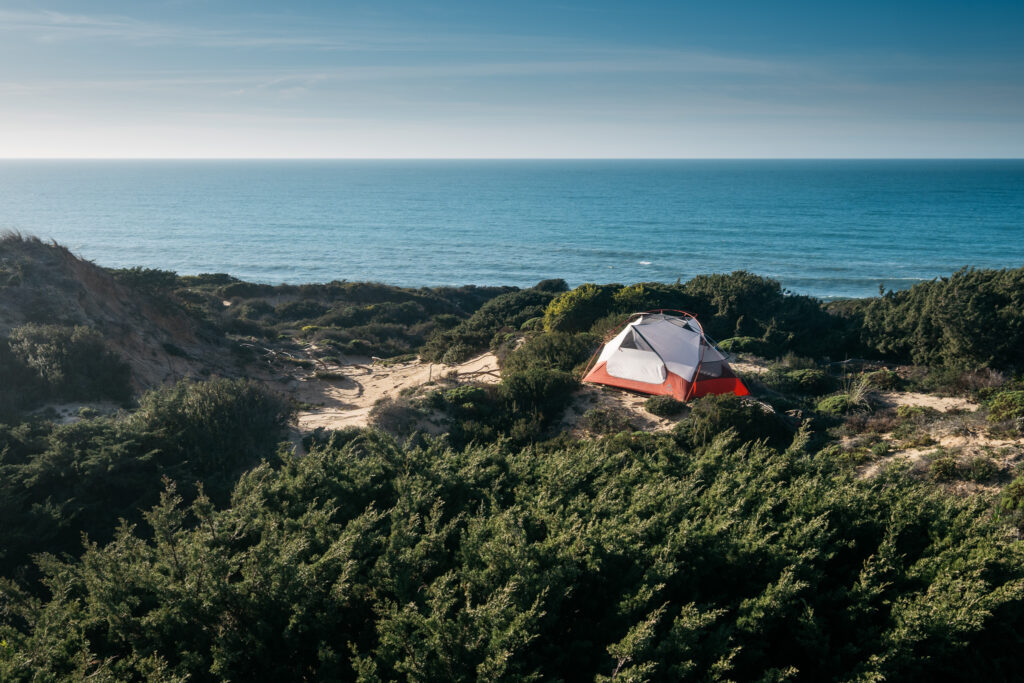
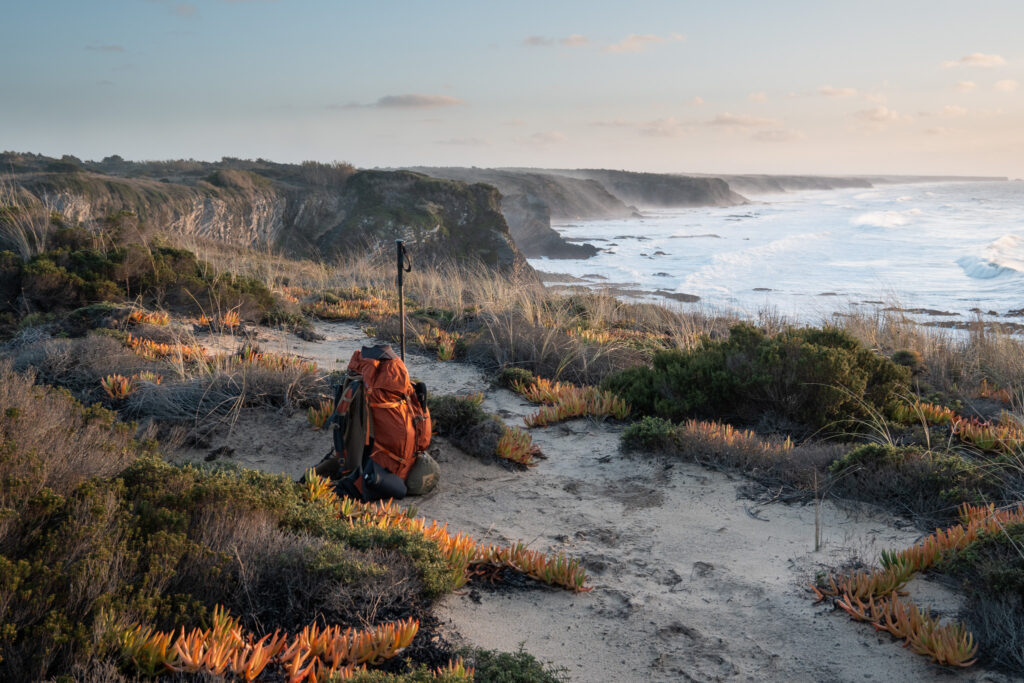
For most of your Fishermen’s Trail, you’ll be wild camping near the coast, often with beautiful ocean views. However, there are also a few good hostels where you can rest, shower, and enjoy some extra comfort.
The Lighthouse Arrifana (Arrifana)
GoodFeeling – Hostel & Guesthouse (Vila do Bispo)
Aldeia Caiçara Surf House (Sagres)
Faro
I had heard mixed things about Faro, but I ended up really enjoying my time there. You could easily spend one or two days exploring the highlights, such as the cathedral, historic center, and its many cafés and restaurants.
If you’re finishing the Fishermen’s Trail in Lagos and fly back from Faro, I can also recommend staying at Walk In Hostel Faro Airport. Its location is great, within walking distance of the airport.
Fishermen’s Trail Hiking Guide:
Stats and my ratings
Fishermen’s Trail variants:
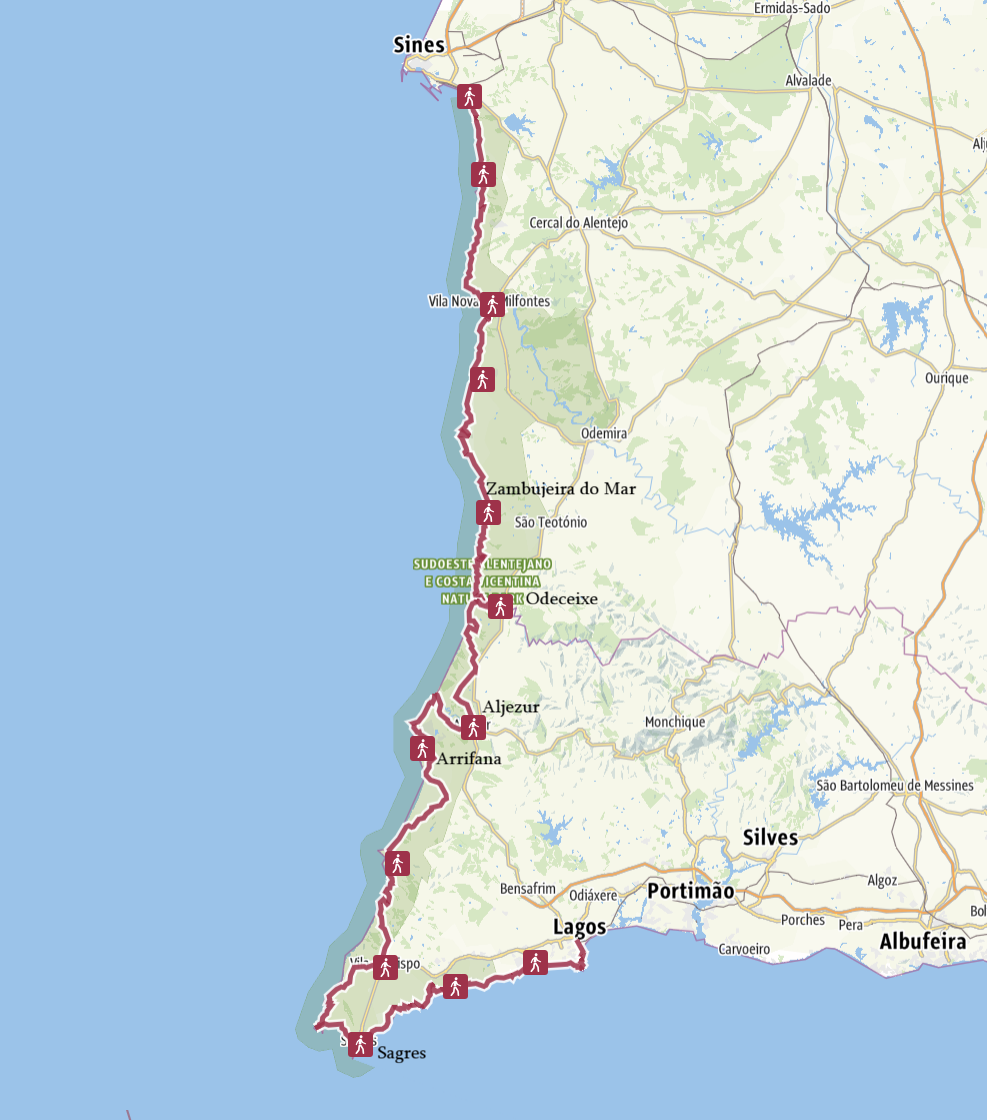
- Official Fishermen’s Trail (Sines to Lagos): 226 km (10 – 16 days)
- Odeceixe – Lagos: 120 km with 2700 m elevation gain (6 – 10 days)
- Aljezur – Lagos: 80 km with 1900 m elevation gain (3 – 6 days)
Tourist density: Very low. You’ll encounter very few other hikers, especially in the low season. In the summer months you can expect more people on the trail, but it never feels crowded.
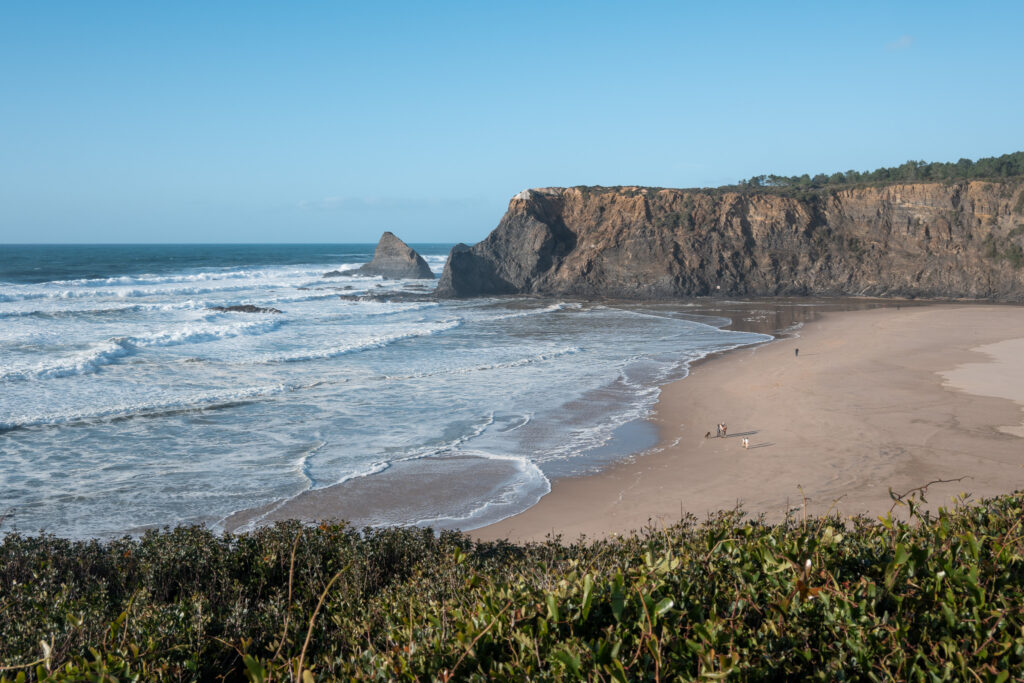
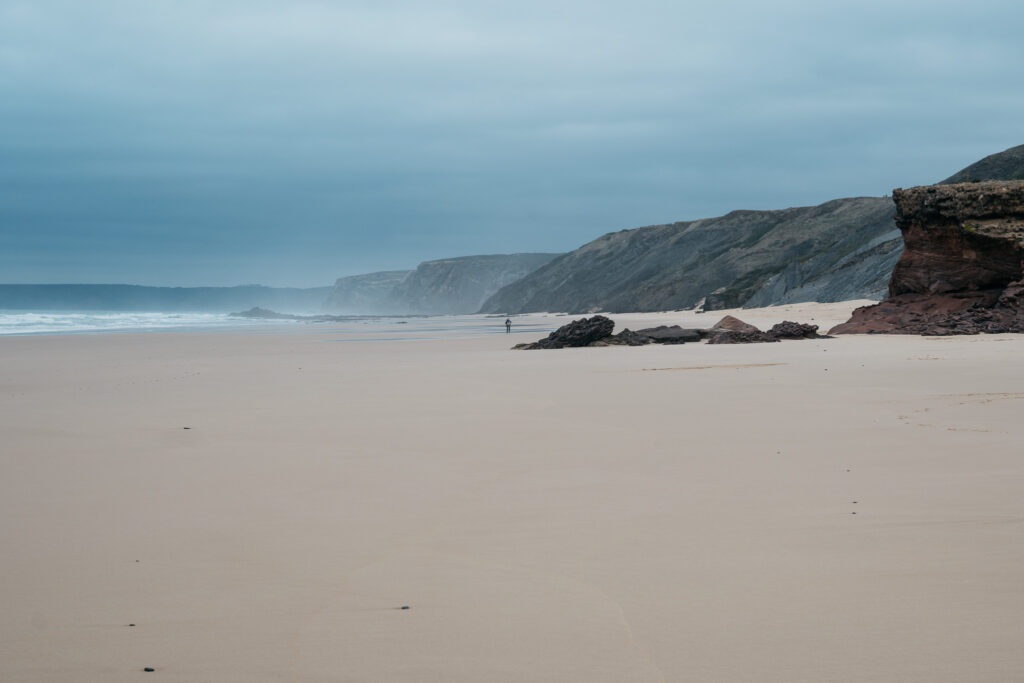
Sights: 4/5. Almost the entire hike offers incredible coastal views. If you’re lucky, you can see powerful waves crashing against the cliffs. While there are a few less scenic sections, the Fishermen’s Trail truly lives up to its name.
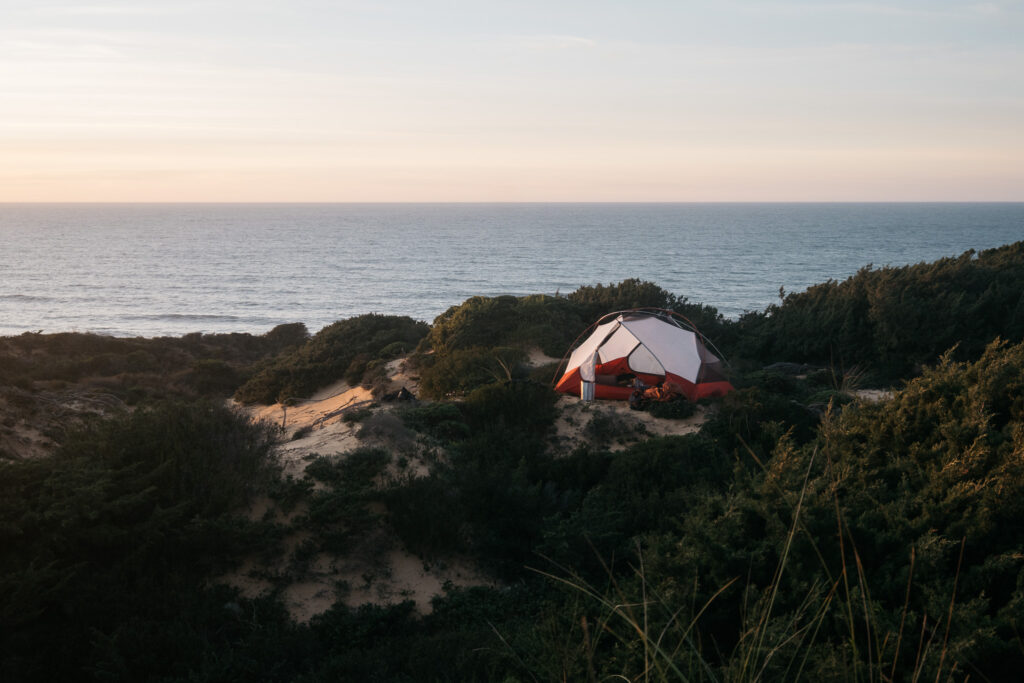
Wild camping: 5/5. For me, this was the easiest hike for finding places to wild camp so far. There are plenty of great places to pitch your tent. Just be sure to clean up afterwards and leave no trash behind.
Difficulty level: Low. The Fishermen’s Trail is very accessible for most hikers. Completing the full trail (226 km) is challenging, but it can easily be broken into shorter sections, making it very manageable. Every now and then the trail gets quite steep, but being close to the coast means the climbs are never long. Sandy paths can also make certain parts more physically demanding.
I highly recommend including the southern part of the Fishermen’s Trail, because the cliffs and beaches in this area are incredible. Think of Arrifana, Praia do Amado, Sagres, and Praia da Cordoama.
On the official Fishermen’s Trail website you can find a detailed map with the exact route.
Day by day guide
In this day by day guide, I’ll share my simple, detailed Fishermen’s Trail itinerary from Odeceixe to Lagos.
DAY ONE
From Lisbon, you’ll need to take a bus to Odeceixe. There are two options: Rede Expressos or Flixbus. I chose Rede Expressos and it all went smoothly. You can either take a morning- or afternoon bus, and tickets are around €20.
Odeceixe is a small, nice, authentic village. You can find a few hotels, hostels, bars and restaurants. I had a great lunch and coffee at Star Coffee, bought a few last things at Mercearia Maria, and was ready to start hiking the Fishermen’s Trail.
From Odeceixe, you’ll start following the trail towards Praia de Odeceixe. Right from the start, this hike already feels very promising. If you’re lucky, you might see big waves crashing onto the beach.
After that, you’ll start hiking south and get that real Fishermen’s Trail feeling. In the dunes, you can find plenty of great wild camping spots.

10 km – 150 m elevation gain
tips: Be sure to buy groceries, a gas canister, and anything else you need in Lisbon, as it can be a long time before you come across a supermarket again once you leave the city.
DAY TWO
After an unforgettable sunset and the first wild camping night in the dunes near Praia de Odeceixe, it’s time to start day two of the hike.
Today, you’ll hike along high cliffs and a few beautiful beaches such as Praia do Vale dos Homens, Praia da Carreagem, and Praia da Amoreira.
If you’re lucky and the tide is low, you can cross the river just south of Praia da Amoreira. In my case, the water level was too high, so I had to take a small detour via Aljezur.
In Aljezur, there’s a large Intermarché supermarket, so perfect for restocking food and other essentials.
Later on, with dark clouds moving in, I started looking for a wild camping spot just west of Aljezur. But if the weather is on your side, I’d recommend spending another night wild camping closer to the dunes, as finding a good spot here was a bit difficult.
22 km – 500 m elevation gain
Tips: You can cross the river south of Praia de Amoreira if you’re lucky with the tide – Resupply in Aljezur if necessary, but you’ll have options tomorrow in Arrifana as well.
DAY THREE
After a night with lots of rain and thunder, the weather has turned around, bringing back clear skies and sunshine once again.
Near restaurant O’Capitão you’ll find stairs and beautiful viewpoints over praia de Amoreira. Perfect for your Fishermen’s Trail photo highlights.
The waves are really powerful today, crashing against the cliffs with incredible force. It’s similar to the feeling you get in the mountains, surrounded by high peaks and deep valleys, the raw energy of the ocean creates that same humbling effect.
Later on, you pass praia de Monte Clérigo, once again with incredible coastal views.
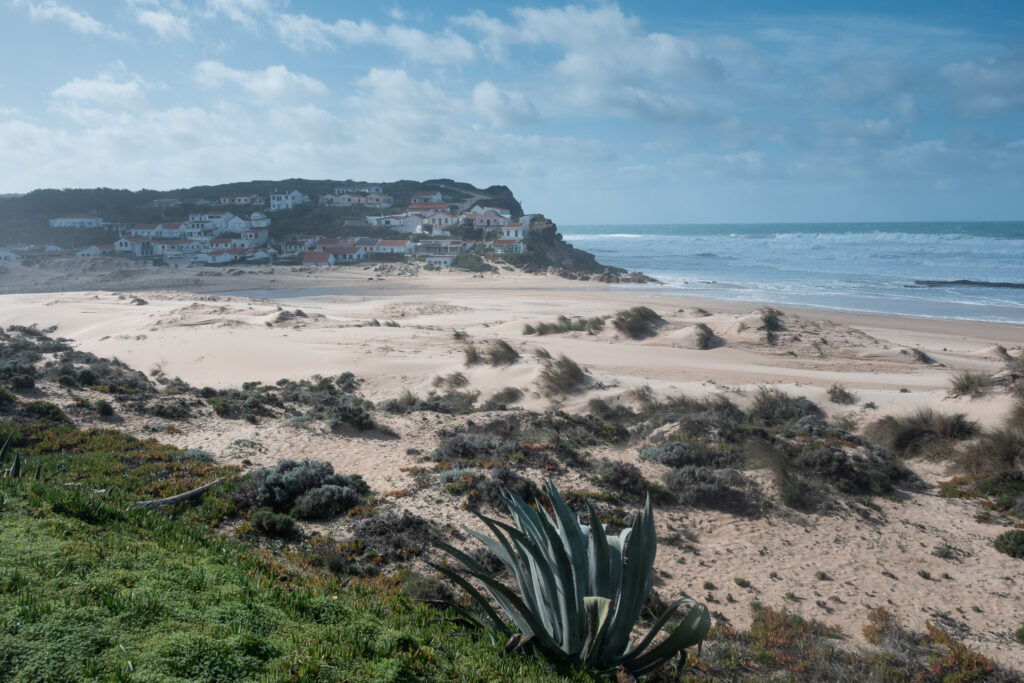
From Monte Clérigo, you continue past Praia do Medo da Fonte Santa and hike towards Ponta da Atalaia, an ancient fishing settlement dating back to the 6th century A.D.
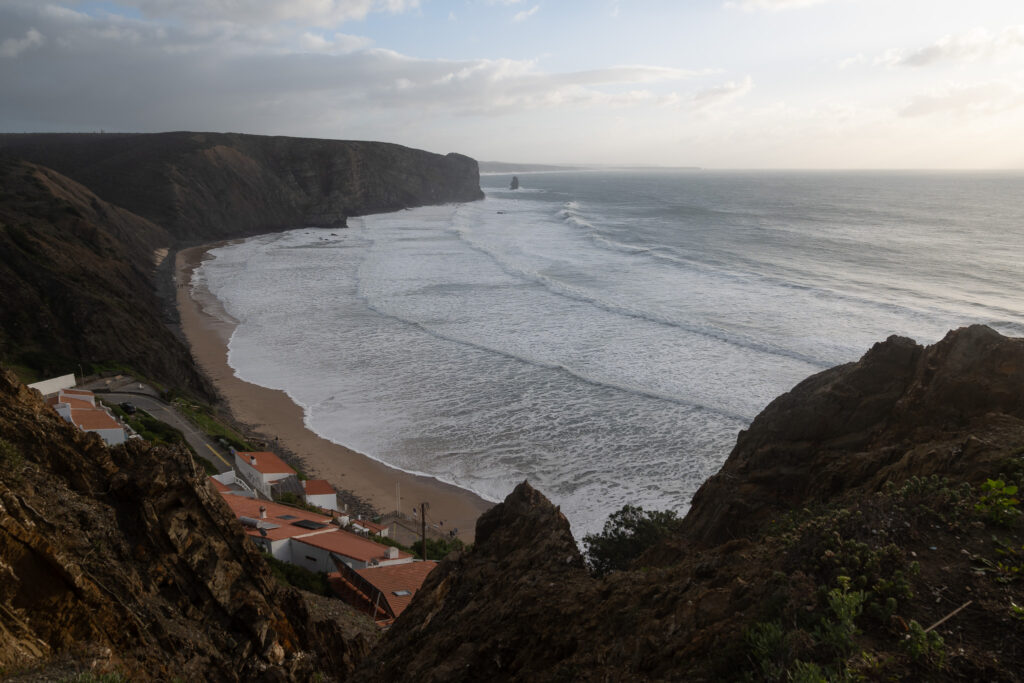
Later in the day, you’ll reach Arrifana with its beautiful Praia da Arrifana. I arrived just at sunset, and the views were truly magical.
After a night of heavy rain and wet gear, I decided to stay at The Lighthouse Arrifana. By European standards, the price is very reasonable. It’s a beautiful hostel, and I ended up meeting some really cool fellow travelers there.
14 km – 400 m elevation gain
Tips: If staying at The Lighthouse Arrifana, or any hostel along the trail, make sure to book in advance, especially during high season. – Watching the sunset at Praia de Arrifana.
DAY FOUR
Today’s stretch is really beautiful and one of my favorite parts of the hike. There are amazing views and plenty of great photography spots. This section also feels more remote than earlier parts of the trail.
Soon after leaving Arrifana, you’ll pass Praia do Canal, an incredible place for photography.
From there, the trail heads a bit more inland, offering wide open views and less climbing compared to the previous days. Then you’ll return toward the cliffs, where the path becomes sandy and a little more challenging.
I was able to find a breathtaking wild camping spot this day, once again with beautiful ocean views.
14 km – 330 m elevation gain
Tips: if needed, gear up in Arrifana, because for the next part you won’t come across supermarkets until Bordeira.
DAY FIVE
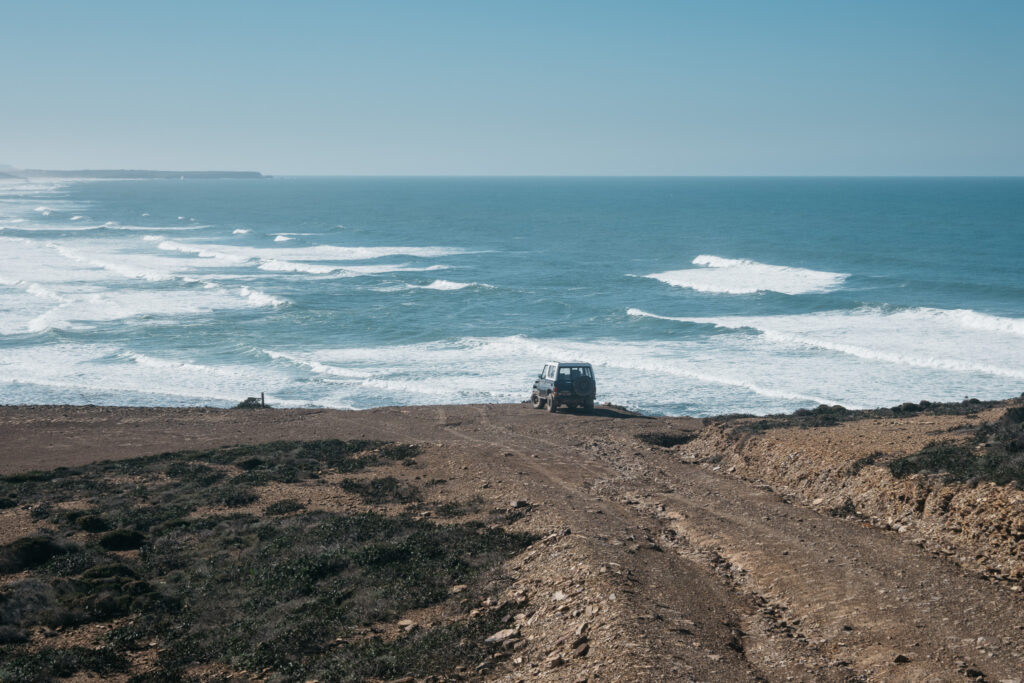
Depending on where you end your hike, today can be quite a long day. I decided to stay in hostel GoodFeeling – Hostel & Guesthouse in Vila Do Bispo because of lots of rain, but if you have a clear day, you’ll come across plenty of spots near the cliffs for wild camping again today.
This part of the Fishermen’s Trail feels rougher, with more surfers in the water and a lot of camper vans along the coast.
You’ll pass a few incredible photography spots today, such as:
- Praia da Bordeira
- Povoado Islâmico da Ponta do Castelo
- Praia do Amado
In Vila do Bispo you’ll find a large Aldi supermarket, plus a few bars and restaurants. If you’re already stocked up on food and water, you can skip it, as it’s a slight detour from the Fishermen’s Trail.
22 km – 450 m elevation gain.
Tips: you can gear up in Vila Do Bispo, but it’s a little detour. – GoodFeeling hostel in Vila do Bispo was great price/quality
DAY SIX
Today, you’ll once again pass beautiful spots. From Vila do Bispo, I’m making my way back onto the original Fishermen’s Trail, while already being able to catch a glimpse of Sagres in the distance.
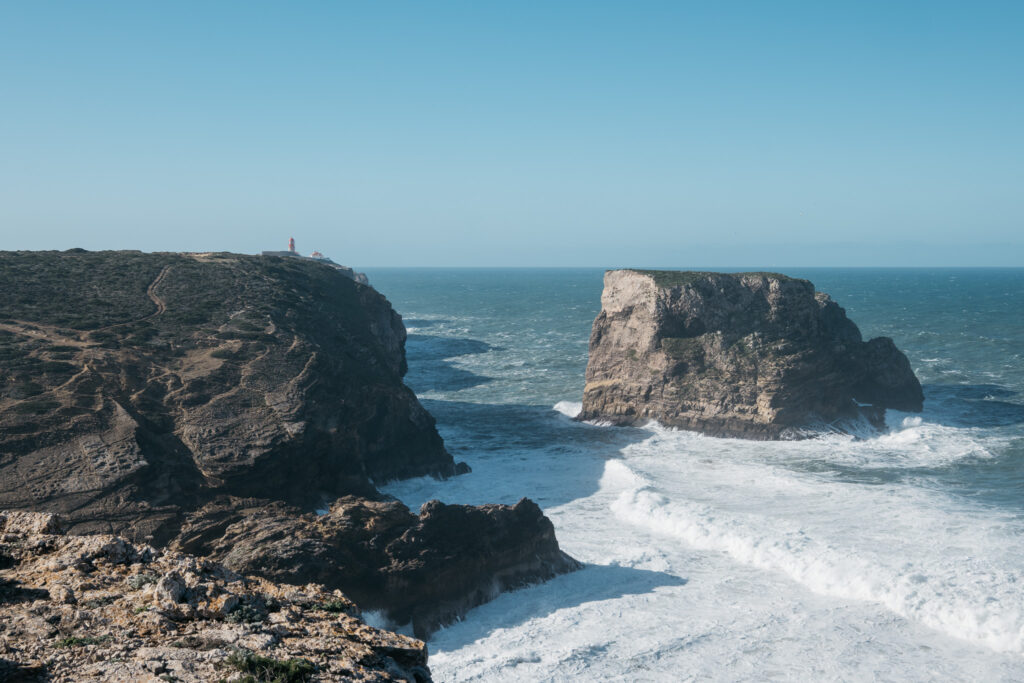
My favorite view of today is Pedra das Gaivotas (Rock of the seagulls). This formation was once part of the main cliff. Over thousands of years, the power of the waves has separated this section, while the coastline has retreated inland.
You’ll pass another beautiful beach named Praia do Telheiro. This hike just doesn’t disappoint.
15 km – 300 m elevation gain.
DAY SEVEN
Today you’ll reach Sagres. But before that, the Fishermen’s Trail takes you past Cabo de São Vicente, welcome to the most southwestern point of Europe.
At Cabo de São Vicente you’ll find a lighthouse, and a little old castle shaped building. It’s a nice spot for photography. An unexpected surprise here are all the food trucks, perfect timing for a bratwurst before heading to Sagres.
On the way to Sagres, the cliffs look high and spectacular. You’ll pass Forte do Beliche, which dates back to the 16th century and was built to help defend the coast from attacks.

Continuing on, the trail takes you past Praia do Beliche, where you’ll have great views of surfers from the cliffs. After Praia do Beliche, the trail slowly becomes more urban as you make your way into Sagres.
In Sagres you can find a lot of hostels, surf schools, a large Intermarché for stocking up, Spar, and many restaurants and bars. If you have time, it’s worth staying the night and catching the sunset from Mirante de Sagres.
12 km – 250 m elevation gain.
Tips: Incredible sunset views at Mirante de Sagres – The waves in Sagres are perfect for beginner surfers
DAY EIGHT
Today’s the final stretch of the Fishermen’s Trail into Lagos. It’s a bit more touristy and busier than the previous days, but the views don’t disappoint.
At times you’ll hike a bit inland, but most of the route stays near the cliffs, keeping that Fishermen’s Trail feeling right up to the final kilometers.
There’s no need to carry too much water or food, as there are several places along the trail where you can buy drinks and food.
On this final section, you’ll pass a few beautiful beaches such as Praia do Zavial and Praia da Boca do Rio. The absolute highlight of the day comes at the very end of the hike: Ponta da Piedade in Lagos.
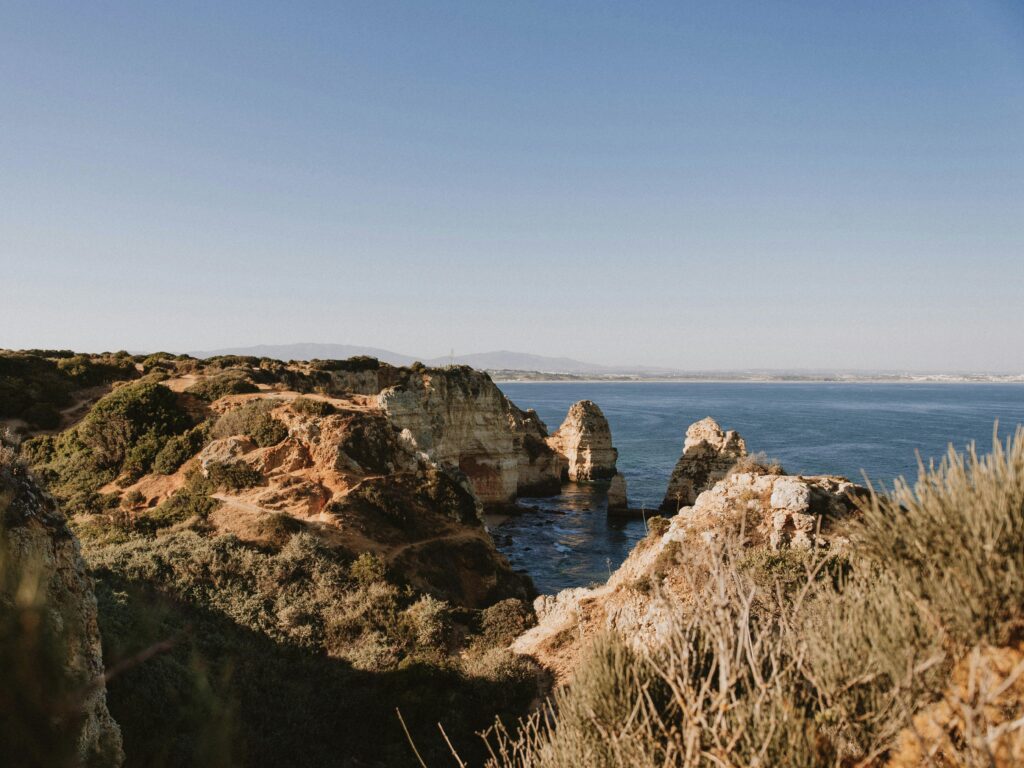
Could there possibly be a better ending to the Fishermen’s Trail than this?
I doubt it.
25 km – 400 m elevation gain.
Tips: flying back home from Faro? consider staying at Walk In Hostel Faro Airport. Its location is great, within walking distance of the airport.
Packing list: Fishermen’s Trail
- Hiking shoes / Trail runners
- Backpack 40–70 L
- Camp gear: tent, sleeping bag, sleeping mat, pillow
- Electrolytes
- A warm layer for the evening and hard winds
- Sun protection
- Sunglasses
- Hat or cap
- Headlamp
- Maps.me app and the offline region downloaded
- Cooking utensils, eating utensils, sharp knife, water bottles
- Camping stove
- Hiking poles
- Electricity: phone, power bank, cables, memory cards
- First aid kit (blister plasters)
- Towel
- Toiletries
- Flip flops or sandals
- Small day hiking backpack (optional)
- Rain jacket (optional, check the weather prediction)
- Gaiters (optional, but you’ll be walking a lot on loose sand)
Conclusion
And that concludes my Fishermen’s Trail hiking guide. I hope you found it helpful and feel excited to experience this incredible part of Portugal yourself.
Get ready for endless cliffs, beautiful sunsets, powerful waves, great wild camping spots and breathtaking views.
Have any questions about the Fishermen’s Trail or curious to see more? You can find my full experience and reach out to me on Instagram.
Want to keep reading? You can find all posts here.
– Bart

Buy me a coffee ☕
I created breakawaywithbart because I love writing, sharing experiences, and helping others plan their own adventures.
The site is completely free, with no ads or sponsored content, by choice.
If this post helped you in any way, you can support my work by buying me a coffee via the button below. Completely optional, but always appreciated!