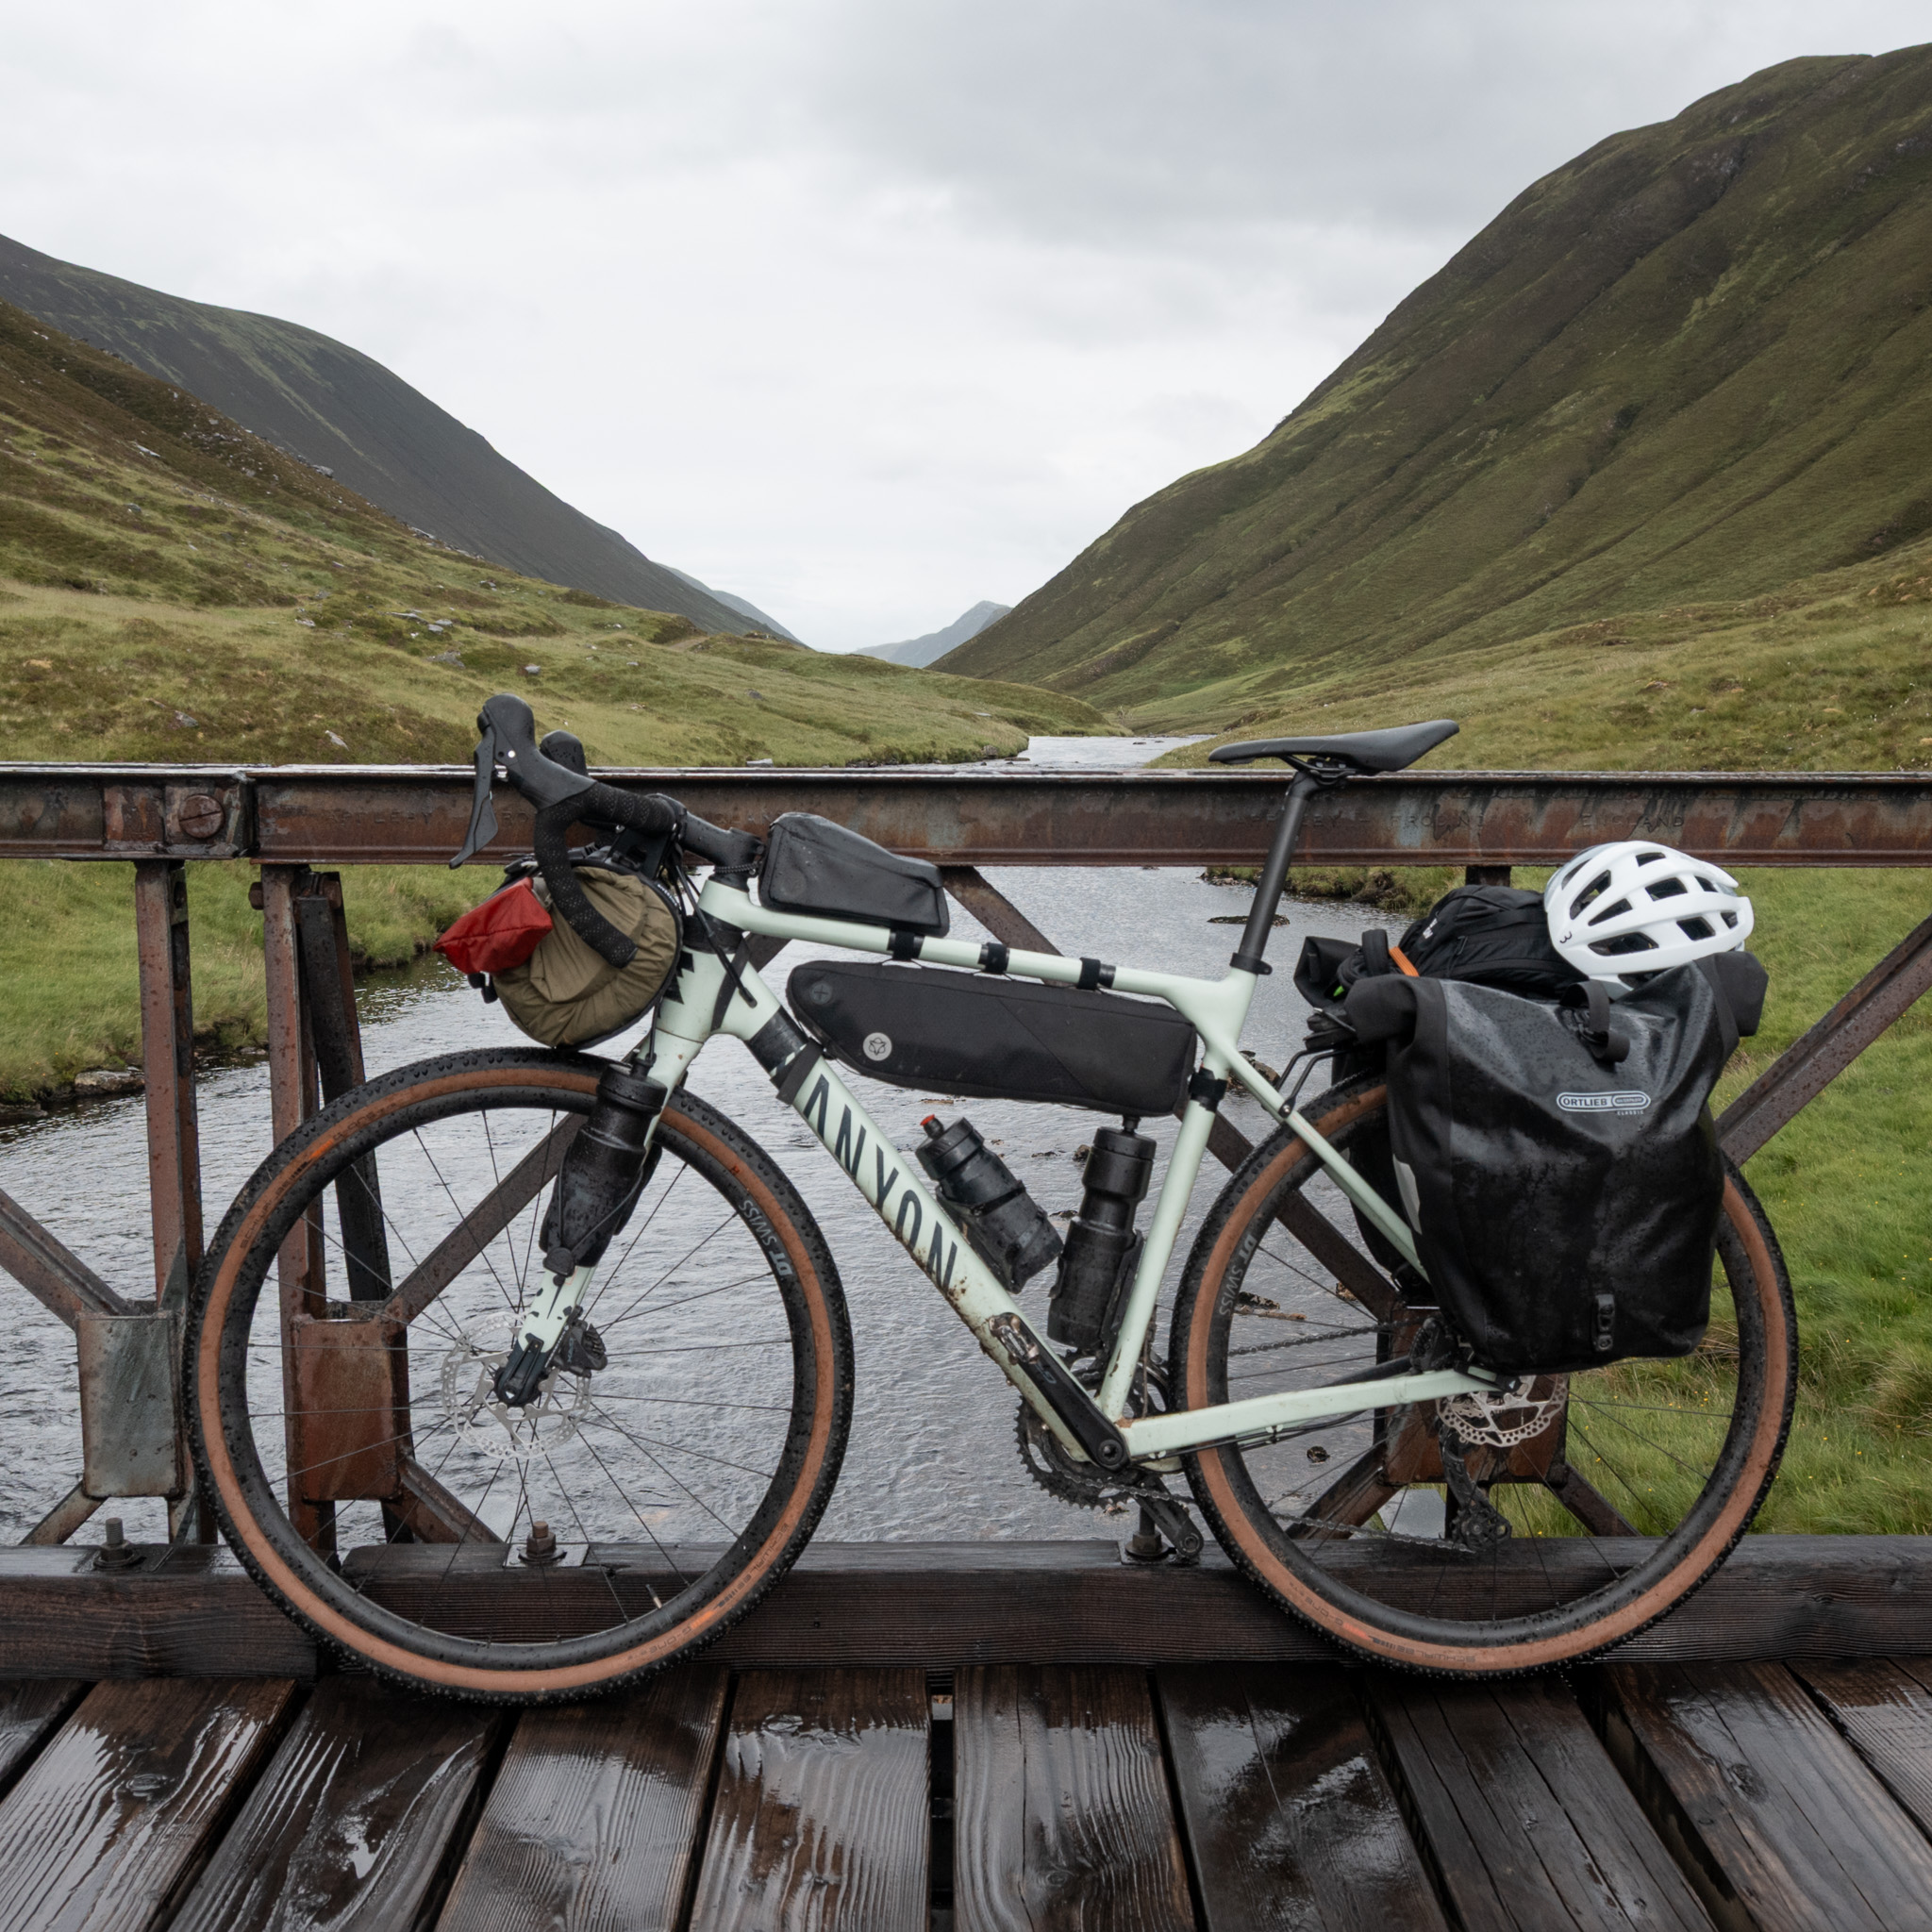
Wondering how to pack for bikepacking?
Getting your bag layout right can make or break your trip. These tips will help you avoid the mistakes I learned the hard way.
1. Keep your essentials easy to reach
This one might seem like common sense, but I’ve made this mistake myself when I first started bikepacking — placing the items I need often in hard-to-reach places.
For that reason, save yourself some stress and frustration by getting into the habit of packing regularly used items where you can grab them easily.
How to pack for bikepacking: essential items?
What works best for me is placing the following items near the top of your bag, where they’re easy to grab throughout the day:
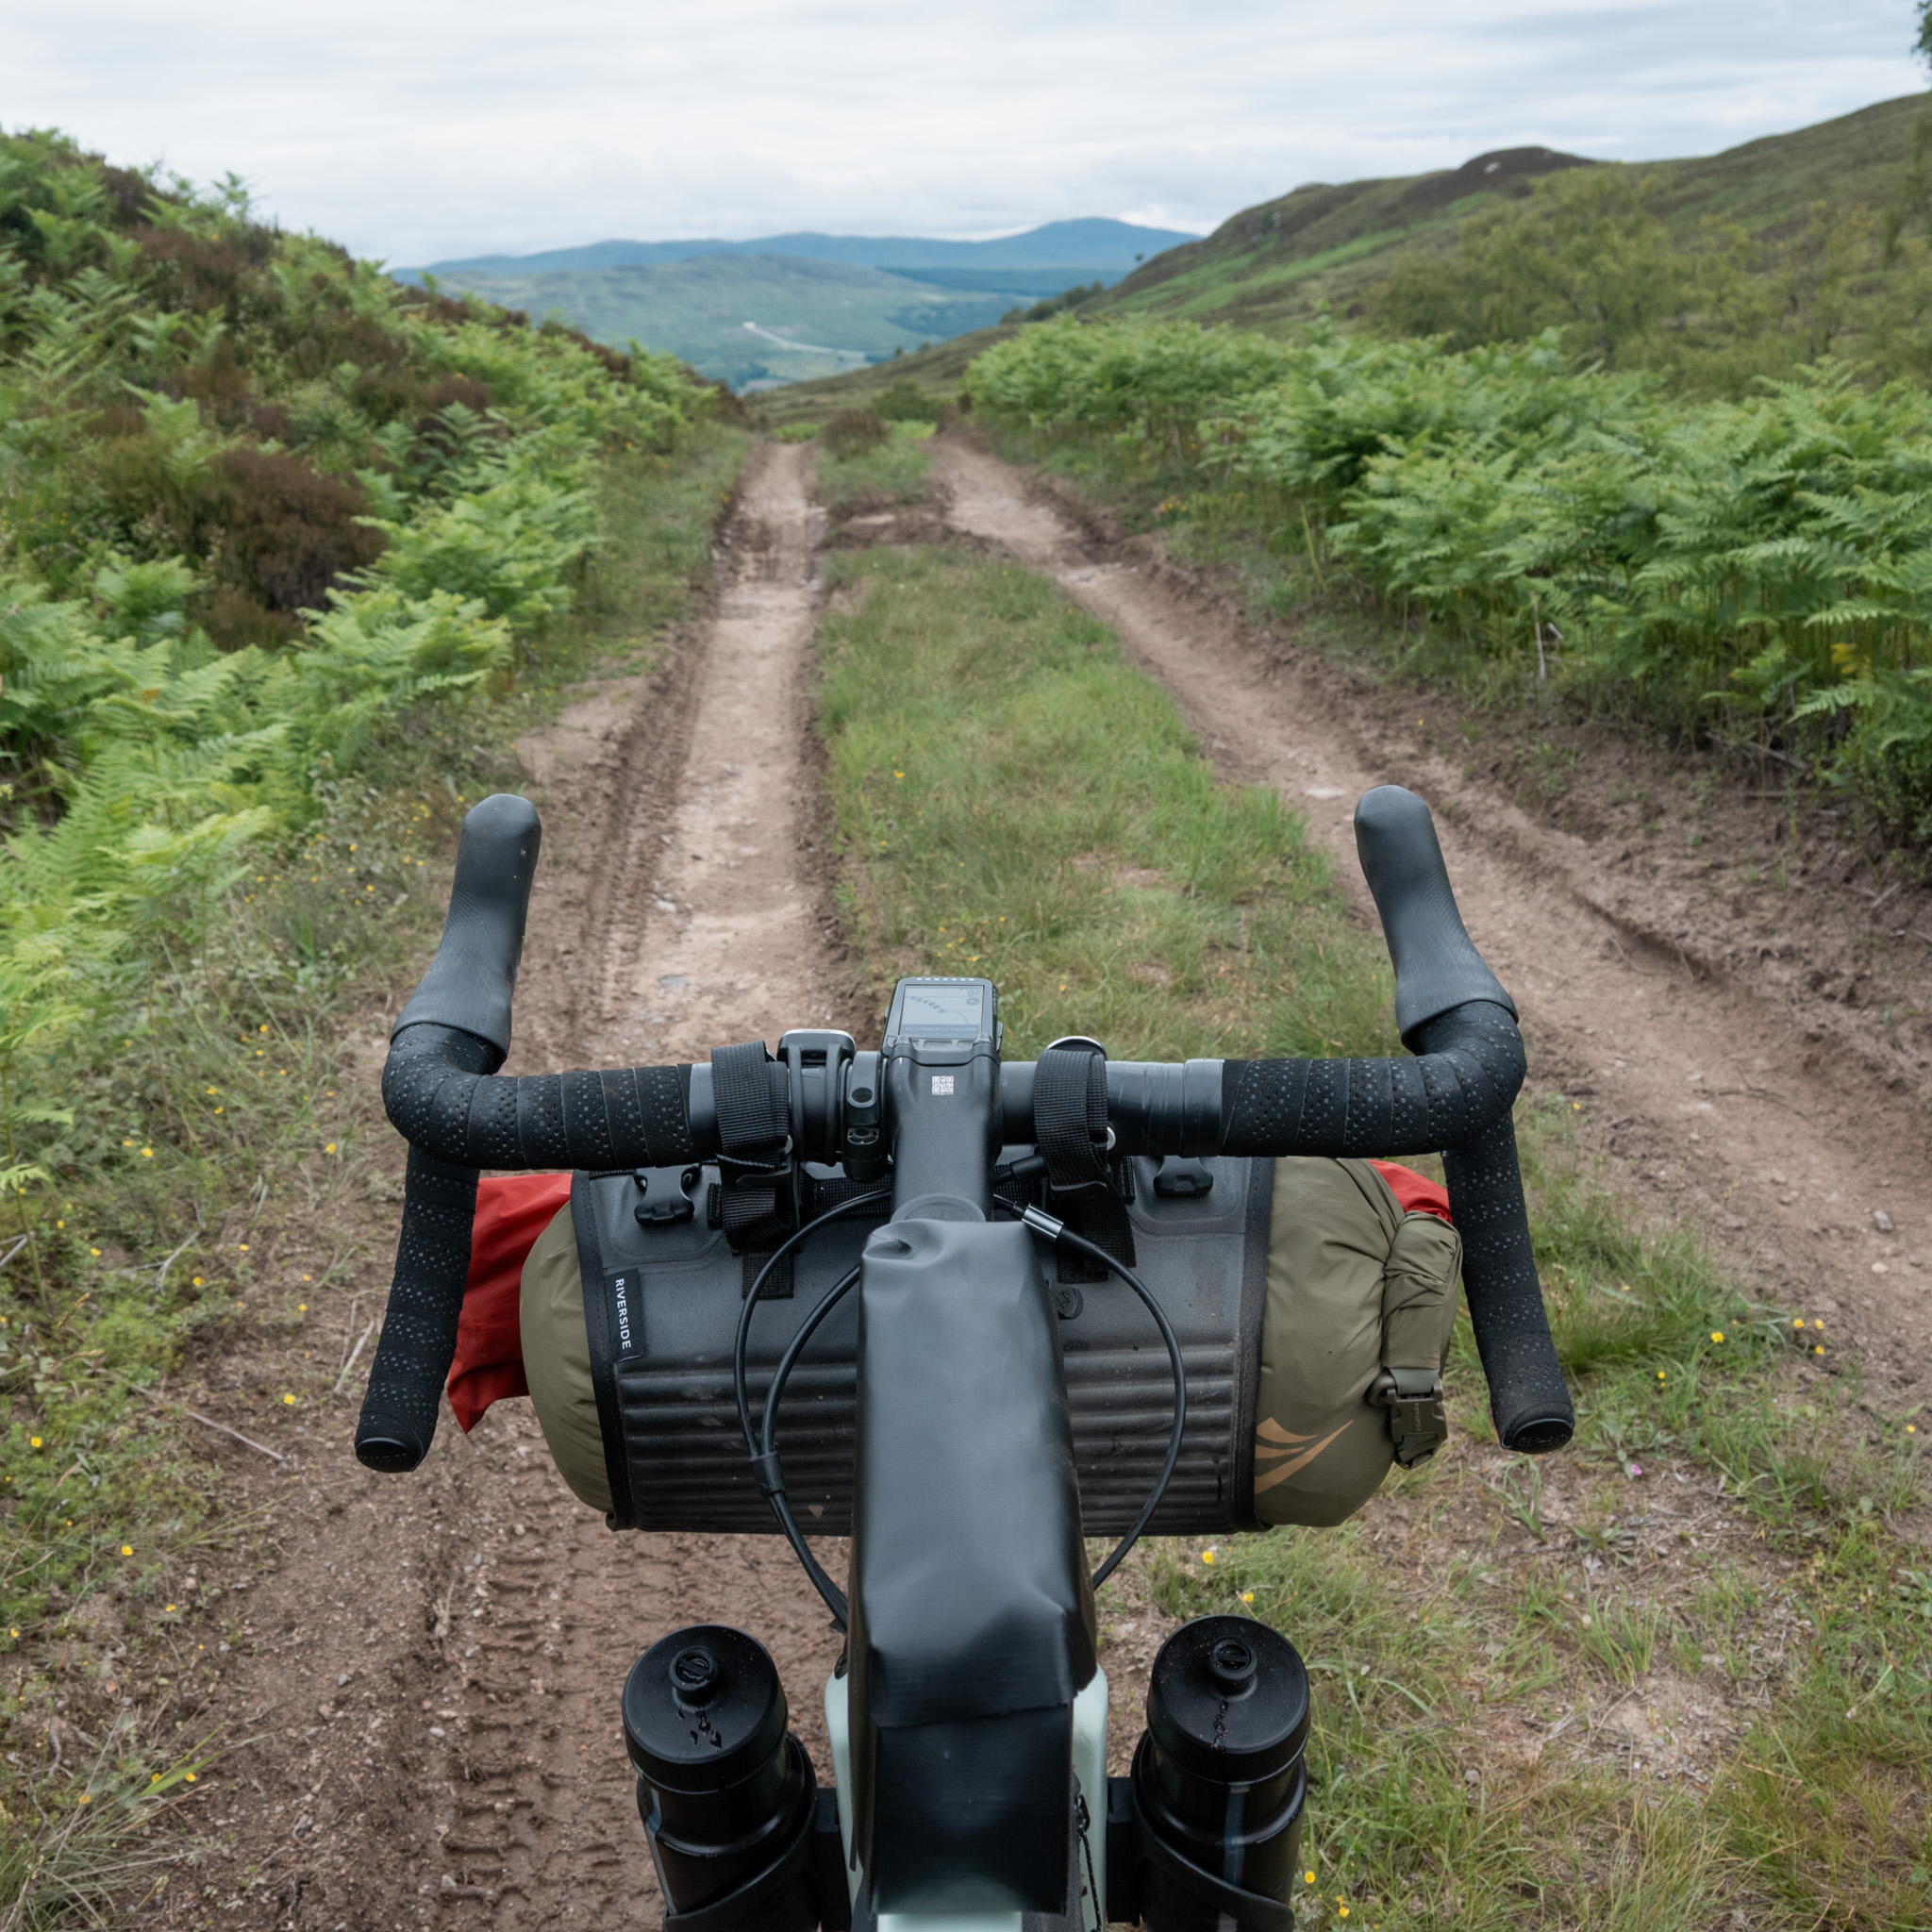
- Phone, Camera, GoPro – These are the items I reach for most during the day. Use the handlebar bag or top tube bag.
- Food – Small snacks like cookies, raisins, or whatever quick-energy bites you prefer. Use the stem bag or top tube bag.
- Sun protection
- Sunglasses
- Earbuds
- Wallet
Other items you’ll want within reach as well
Some items are too big for your handlebar or top tube bag, but you can still keep them near the top of your main bags for convenience:
- Rain jacket – Obviously. (In cold conditions your gloves and hat as well).
- Jacket or sweater – Keep within reach for sudden drops in temperature.
- Store stove and lighter side by side to save time.
- Plate, cutlery, and cup – Easy access makes meals quicker.
- Food, fruits, nuts, etc.
- Helmet – If riding hilly or mountainous terrain. I strap mine to the outside of the bike between carrier straps for quick access.
2. Always pack items in the same place
Before you travel, it’s useful to plan your bag layout. So, where should you store each item?
Doing this in advance can save you a lot of frustration — and prevent you these “why didn’t I think of that?” moments.
Personal story
In the summer of 2020, I was cycling from the Netherlands to Venice. About two weeks into the trip, I arrived in the beautiful, historic village of Sankt Goar, along the Rhine.
That day started perfectly — all was going well, and I felt great.
However, that changed when I realized I had lost my wallet.
Despite searching everywhere, after an hour or two, I had to give up. So, I called my parents and told them the bad news.
Already, I was thinking about how I could get home: How would I pay for a bus or train ticket without money or a card? Could my family send cash to a location in this tiny village?
I explained my situation to another bikepacker— a German girl I had spoken to briefly earlier that day. And she kindly gave me some cash (yes, bikepackers are the best people).
I wanted to make one last attempt to find my wallet, and after just five minutes, I spotted it — tucked inside my fold-up bag.
It was a good lesson. After that experience, I started paying much more attention to where I store my belongings.
Make it a habit to keep your items in the same place, so you don’t end up in a similar situation.
Pro tip: Don’t keep all your money in one spot. Stash some cash elsewhere so you won’t be completely stranded like I was in Germany. For example, roll up a few bills in your seat tube for emergencies.
How to pack for bikepacking
Make it a habit to always store your items in the exact same place.
3. Simplify packing with organizer bags
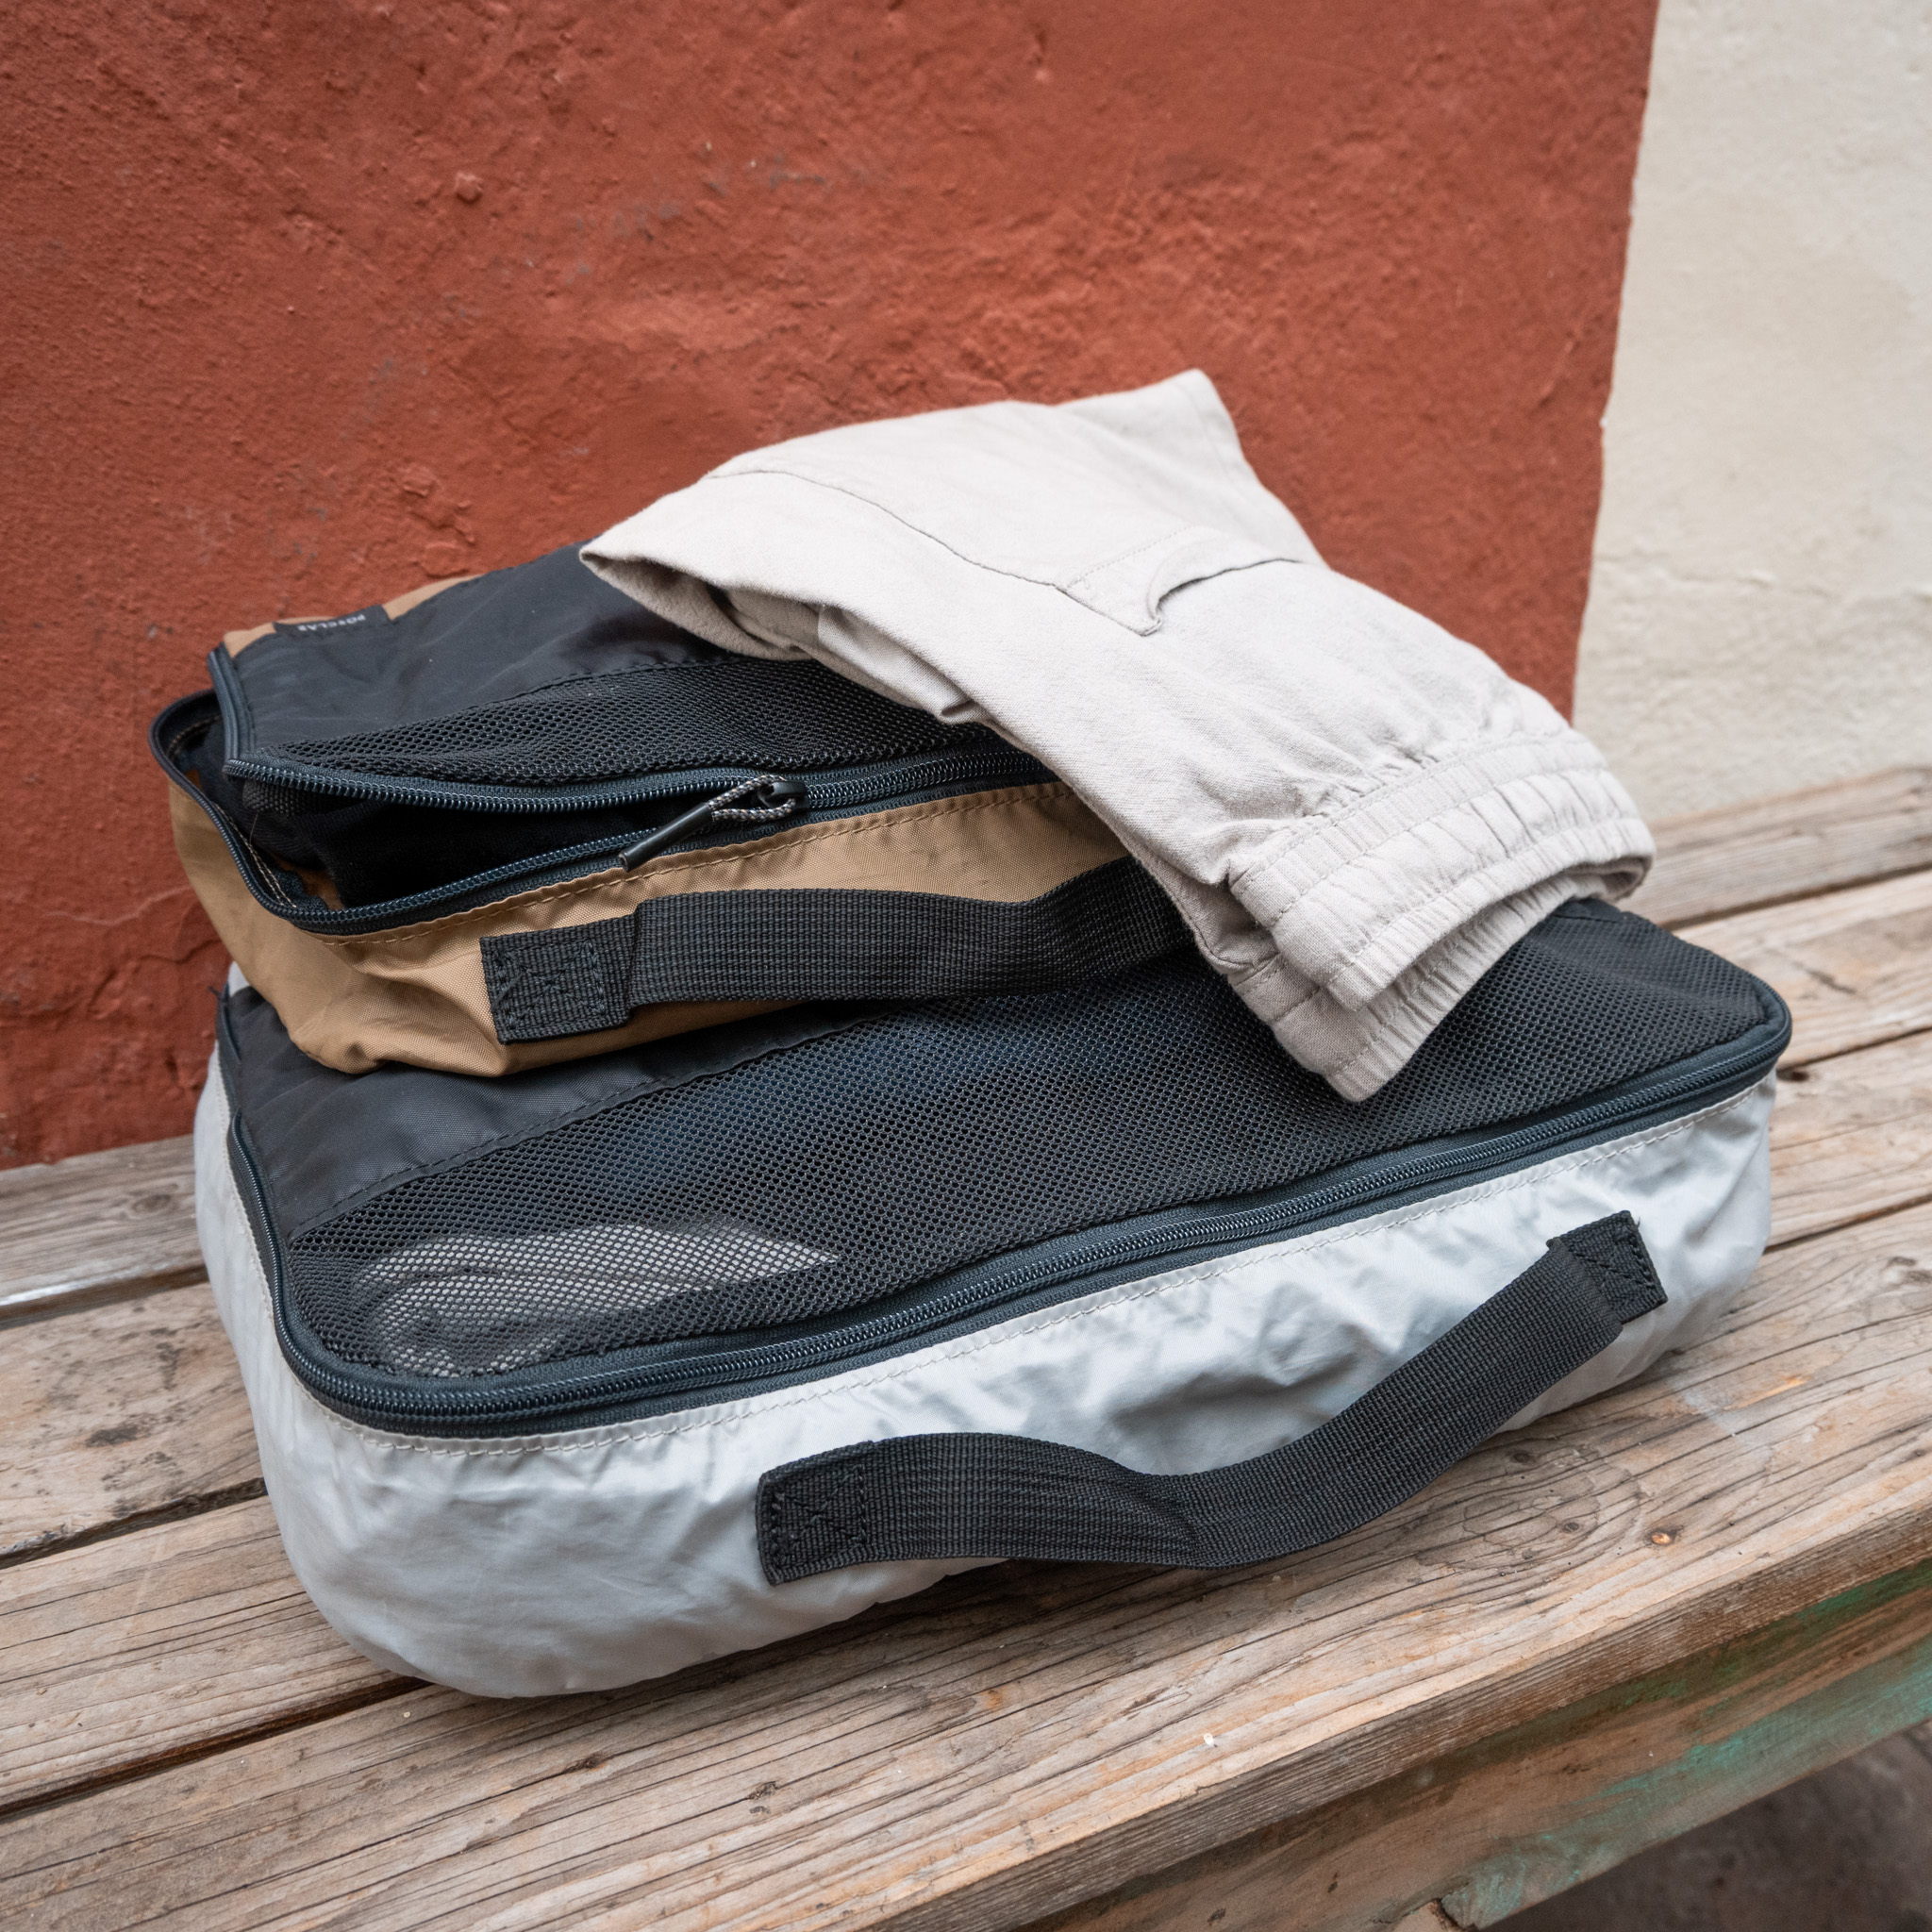
To be fair, I had never used organizer bags before my backpacking trip through South America — in fact, I didn’t even know they existed!
However, they make life on your bike and backpacking trips so much easier.
Typically, organizer bags often come in a set of three: large, medium, and small. I use the large for pants and sweaters, the medium for shirts and shorts, and the small for socks and underwear.
Invest in good-quality bags — you’ll be opening and closing them often, so you don’t want a zipper that breaks. Also, breathable material also helps prevent clothes from smelling. A decent set usually costs about 15–30 euros.
For example, this 3-pack set from Decathlon is doing a great job for me.
I find them incredibly useful.
As a bonus you can use them as a soft, cozy pillow as well.
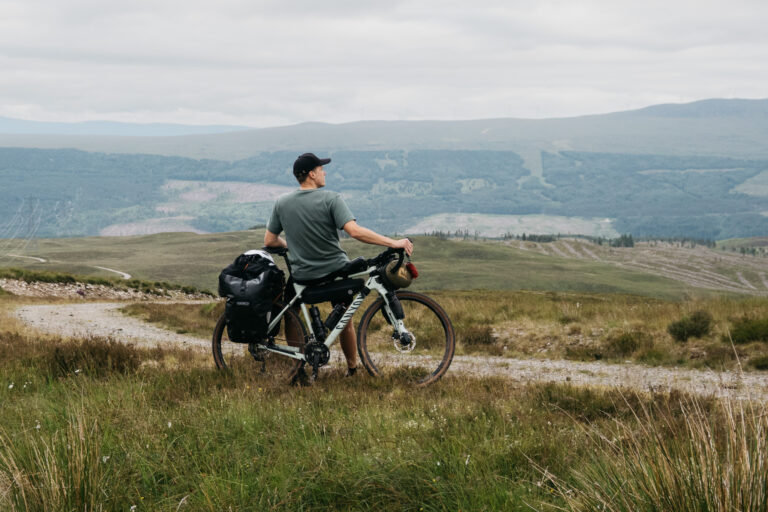
4. Always balance left and right
Personal story
During my very first bikepacking trip from my home to the South of France in the summer of 2018, I arrived in the French coastal town of Le Tréport after about a week of cycling.
Soon after, I noticed a sharp pain building in my right knee. One of the worst things that can happen while bikepacking is getting aches and pains: you want to keep going, but sometimes you’re forced to stop and rest.
I tried to figure out the cause of my knee pain and realized that mis-distributing the weight on my bike was the main problem.
When one side of your body has to work harder with every pedal stroke, all those small movements add up and can lead to injuries.
Furthermore, improper weight distribution makes your bike harder to control which can create dangerous situations. In addition, it increases the risk of injuries.
After three days of rest, stretching, and carefully redistributing my bags, I hit the road again — I had no more pain for the rest of the trip.
How to pack for bikepacking
Improper weight distribution makes your bike harder to control and can increase the risk of injuries.
Front-Rear weight distribution is important as well
In addition, the distribution of weight between the front and rear of your bike is important as well.
For example, you should try to keep your handlebar bag as light as possible — too much weight up front makes steering harder to control.
Personally, I try to have about 60% of the weight at the rear and 40% at the front.
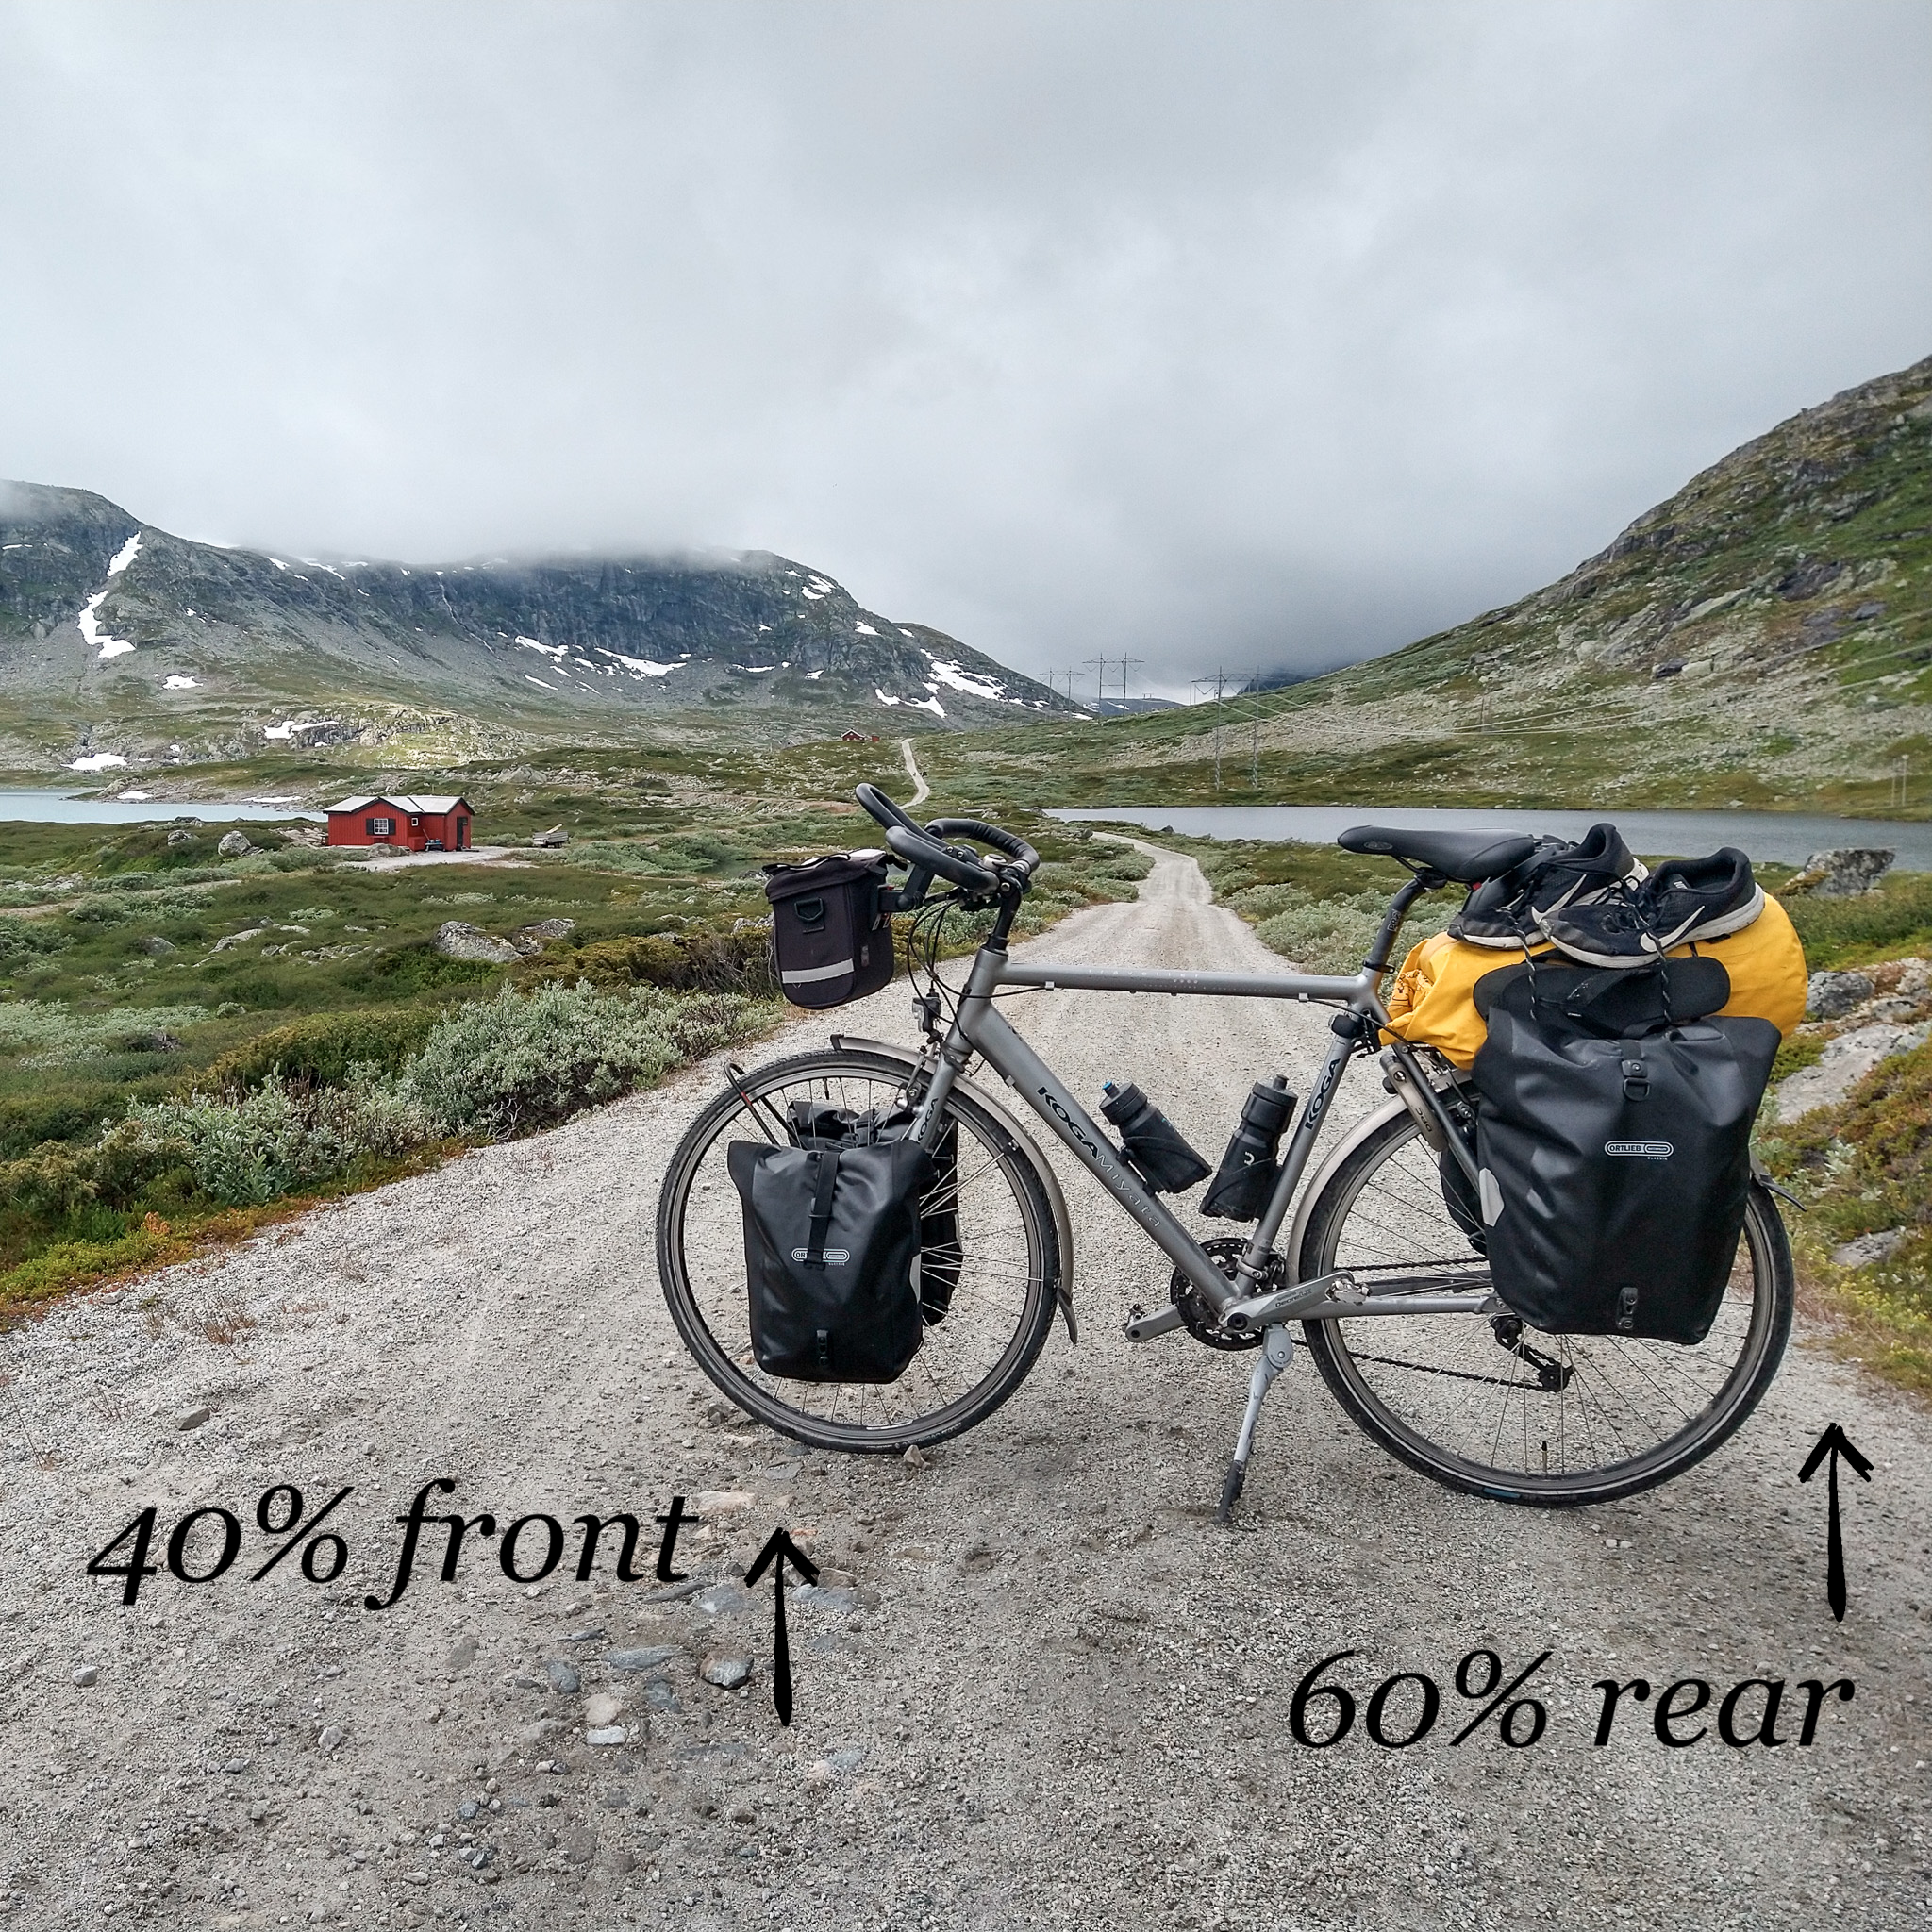
Go with what feels right for your bike and riding style. Test your setup a few days before a big trip to make sure the weight distribution feels comfortable.
Tip: Do you want to be well-prepared for your bikepacking trip? Read my article on The Overnighter, where I explain exactly how to get ready.
How to pack for bikepacking
5. Always waterproof your electronics
Make sure the bag you use for electronics is completely waterproof.
Also, be cautious of bags labeled “water-resistant” — they can handle light rain, but won’t protect your electronics in heavy rain.
If your current bag isn’t fully waterproof, you can place your electronics in a smaller waterproof bag inside your existing bag.
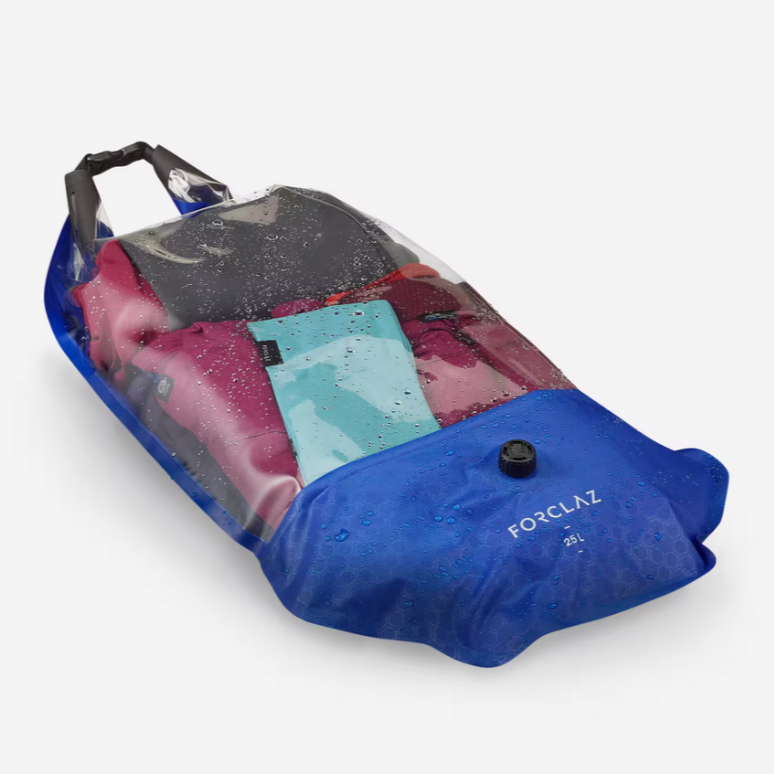
For example, I bought two 7-liter waterproof bags from Decathlon for just 10 euros total and traveled through South America with them for six months — hiking, burying them in sand, etc— and they’re still in perfect condition.
All in all, I highly recommend using reliable waterproof bag(s) to protect your electronics.
This waterproof bag from Decathlon and this one from Sea-to-Summit are doing a great job for me.
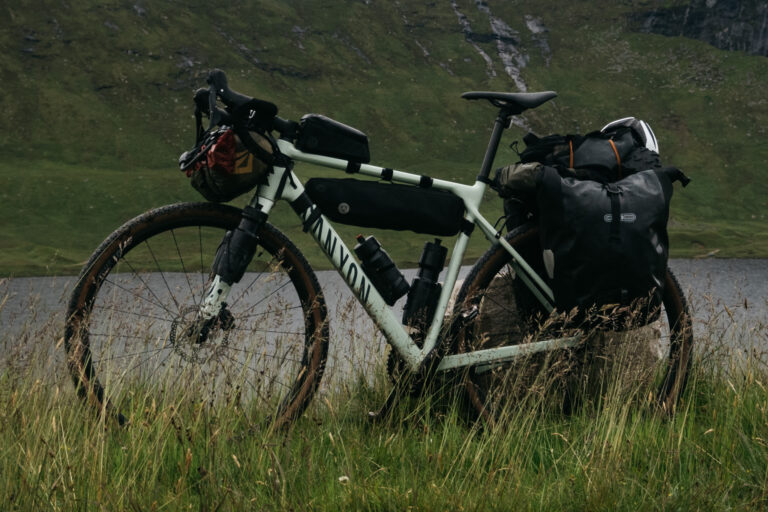
6. Keep heavy items low and centered

One of the most important bikepacking packing tips is to keep heavy items low and centered on your bike.
However, if you put too much weight high up in a bag or at the handlebar, the bike becomes harder to control and will feel unstable.
Therefore, by keeping the weight near the middle of the frame, your bicycle will be more smooth and easier to handle.
With heavy gear I mean:
- Tools (frame-bag for quick access)
- Water
- Clothes
- Foods you don’t use during the day
These belong in your frame bag or at the bottom of panniers.
This setup stops the bike from swaying side to side and makes climbing or cornering way easier. A top-heavy load will slow you down and wear you out faster.
How to pack for bikepacking
Conclusion
So there you have it: 6 Expert Packing Tips on How to Pack for Bikepacking.
- Keep your essentials easy to reach
- Always pack your items in the same place
- Simplify packing with organizer bags
- Always balance left and right
- Always waterproof your electronics
- Keep heavy items low and centered
How to pack for bikepacking
Do you have any questions about bikepacking or hiking? Just comment here or drop me a message on Instagram!
Follow me on Instagram for more travel stories, hiking guides, and bikepacking tips.
I would love to have you along for the journey!
– Bart