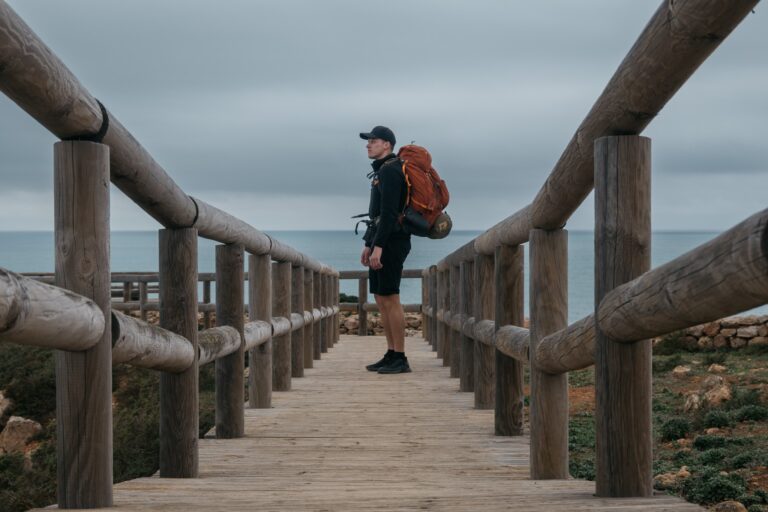
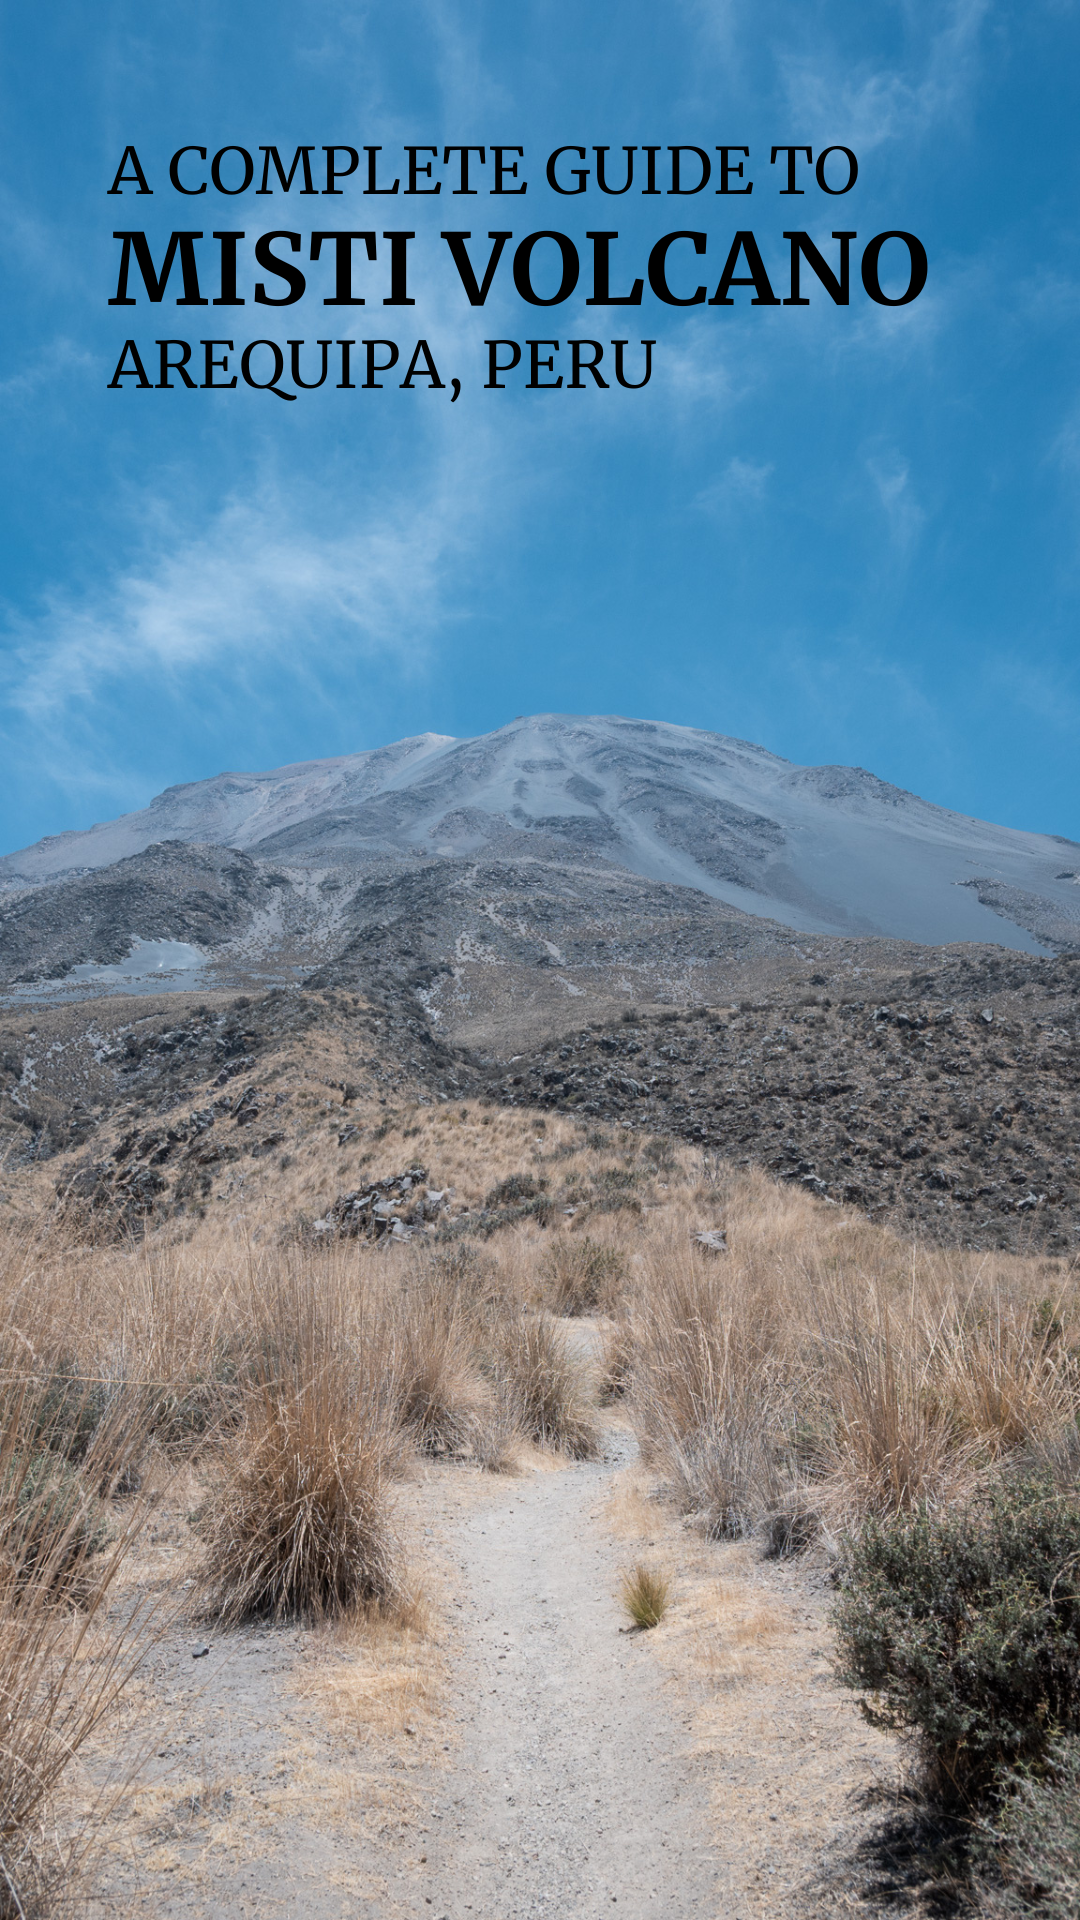
The Ultimate Misti Volcano Hiking and Camping Guide: here’s all you need to know before hiking the Misti Volcano solo near Arequipa: From what to expect to practical tips, this guide will help you prepare well for the adventure.

General Info
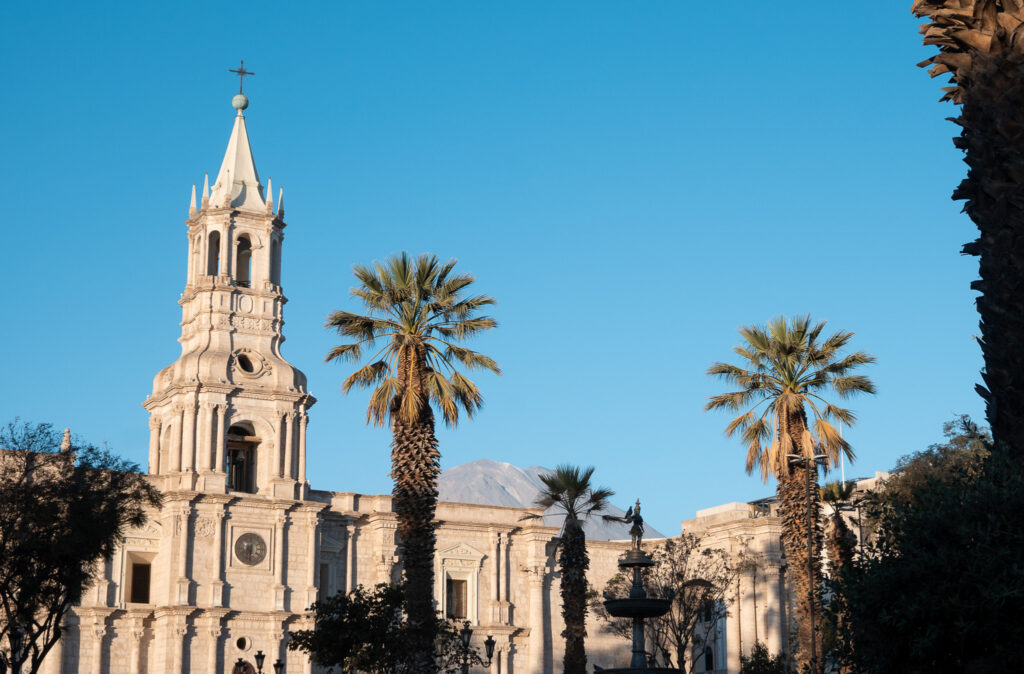
Arequipa, Peru is a beautiful city in southern Peru. This place is known as La Ciudad Blanca, because of it’s famous white volcanic stone buildings. Also, it’s known for its sunny weather and relaxed atmosphere, surrounded by dry Andean landscape, and watched over by the iconic Misti Volcano.
The Misti Volcano rises to 5,822 meters, making altitude the main challenge of this hike. I would absolutely recommend taking two days to reach the summit. The hike is physically demanding, so good stamina and proper acclimatization to the altitude are necessary.
Climbing Misti is recommended during the dry season (April to November), when conditions are generally more stable and the trail is less likely to be wet or slippery. During the rainy season (December to March), afternoon showers are more frequent, and snow can sometimes return at the summit.
Also, keep in mind that at this elevation it gets much colder, temperatures near the summit can drop below freezing. Wind can be strong as well, so proper clothing is essential.
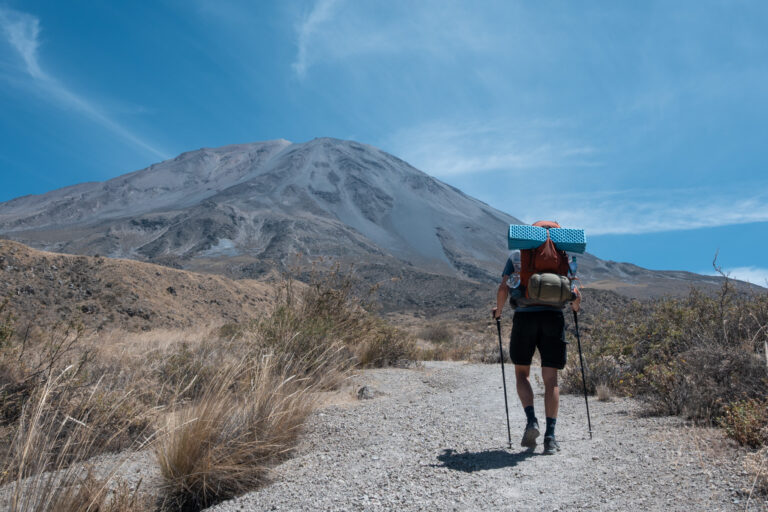
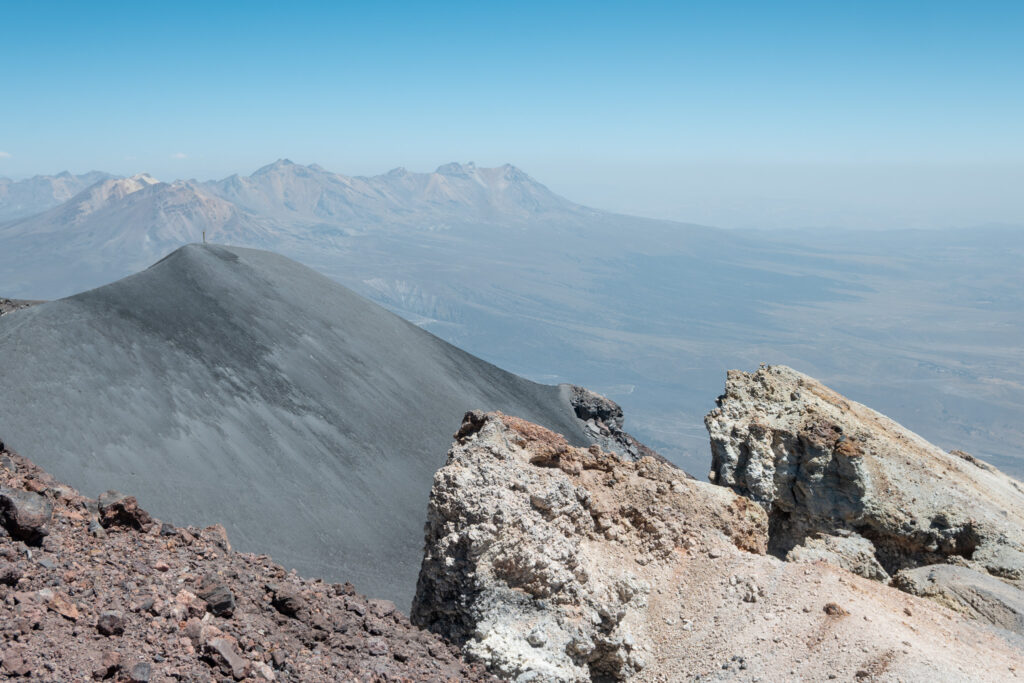
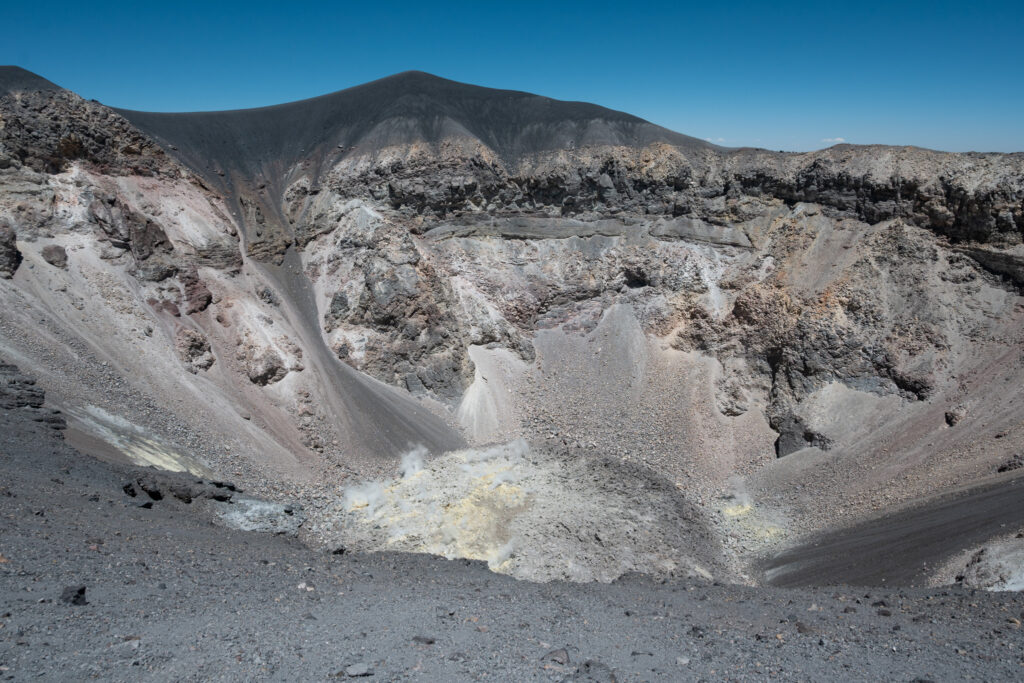
Nevertheless, standing near the crater with views over the Andes and the desert below makes all the effort absolutely worth it.
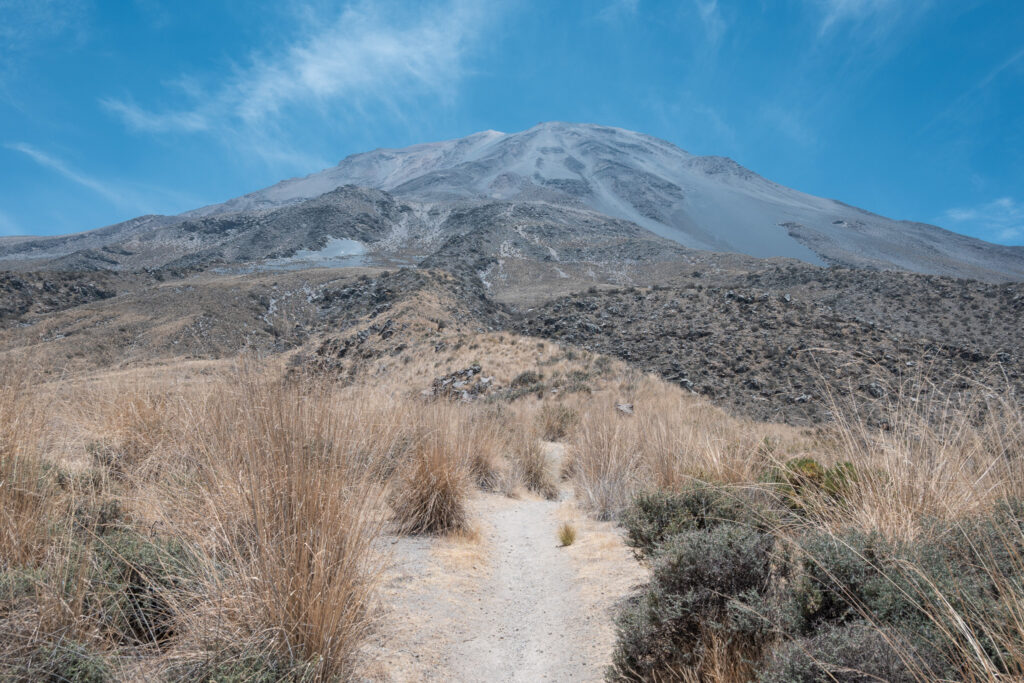
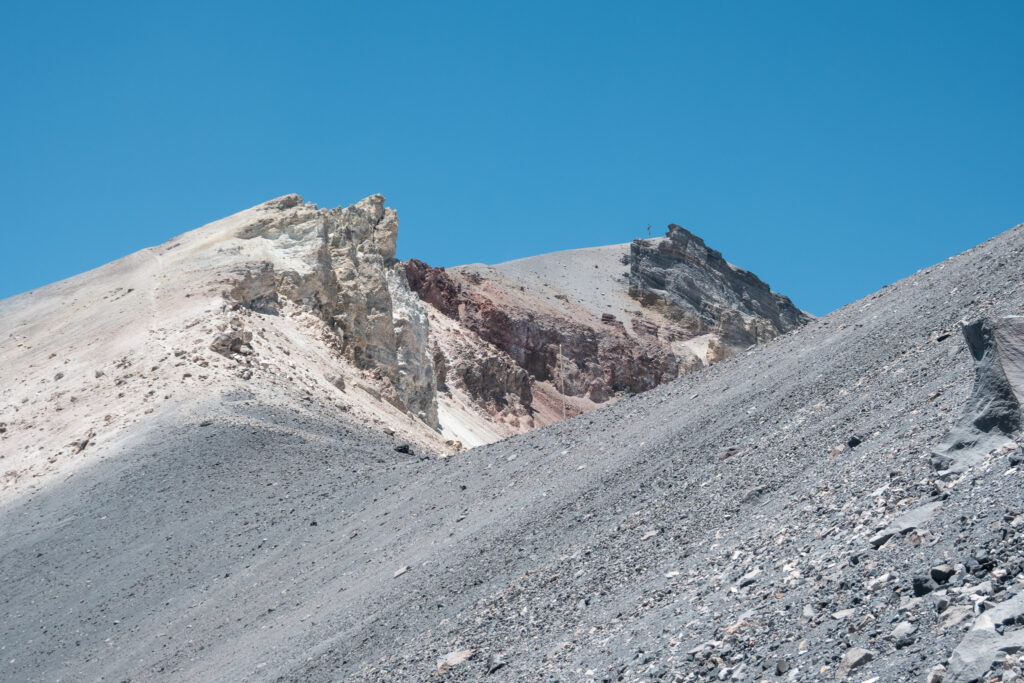
Misti volcano hiking
Getting to the Misti Volcano trailhead
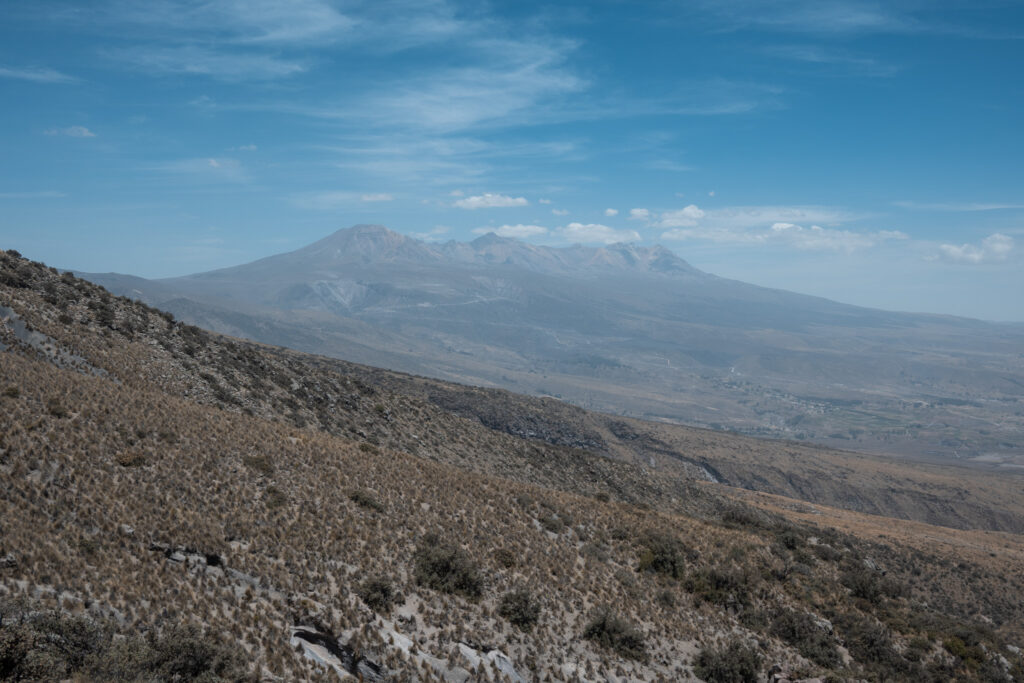
Despite being right next to the city, hiking the Misti Volcano still feels remote and wild. Once you leave Arequipa, the landscapes quickly turn quiet and empty, with wide open views and few people around.
In contrast to other well known hikes in Peru, Misti is not crowded at all. As a result, the experience feels more raw and authentic.
I asked about five different tour operators in Arequipa if they offer transportation to the Misti Trailhead. Two companies said they do, and one of the two offered the two-way transportation for a slightly better price. Contact me on Instagram if you’d like to receive more information about this.
The price I payed was reasonable (450 Soles), however, if you have good negotiation skills you might be able to pay less (I didn’t negotiate but accepted the lowest offer from the two).
Also, keep in mind that the cost can be split if you go with more people, which can significantly lower the overall price.
Misti volcano hiking and camping
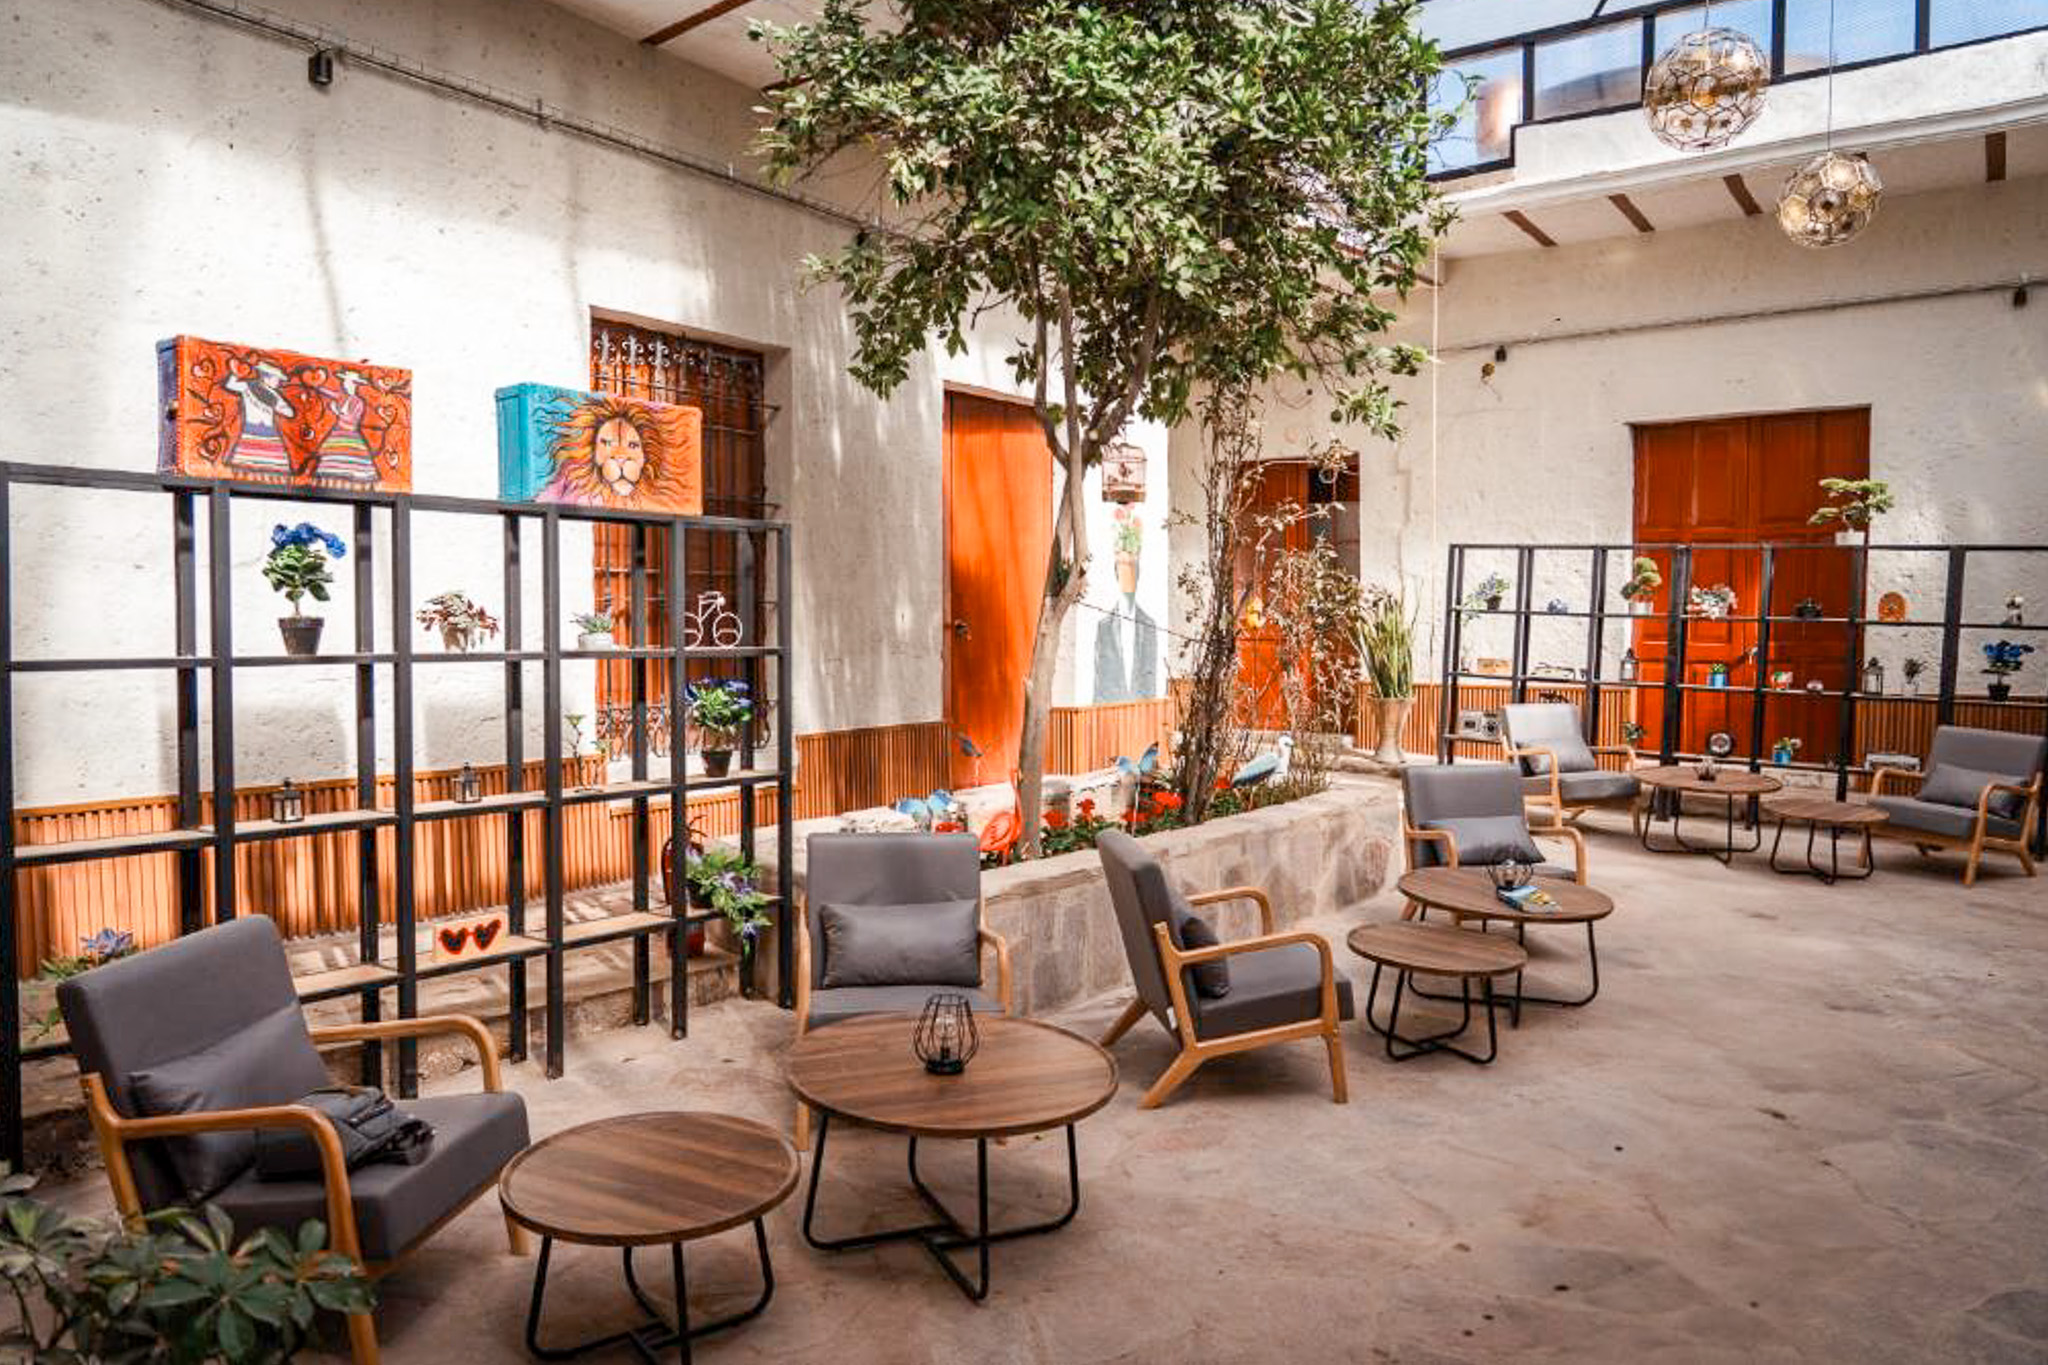
Where to stay?
Way Kap Hostel Arequipa is a place I absolutely recommend. It’s location is near the plaza and in the middle of the historic center. In addition, their price/quality ratio is great.
If you’re looking for more privacy, Hotel Benavides and Los Andes bed & breakfast both offer rooms at very reasonable prices, while still having a high standard of comfort and quality.
Misti volcano hiking and camping
Misti Volcano hiking: my stats and ratings
- Total: 13,5 km (8 miles): Starting at 3415 m, you’ll first hike to the base camp at 4500 m, and the second day to the summit at 5822 m.
- 2400 m elevation gain: Prepare for lots and lots of climbing.
- Highest point: 5822 m.
- Tourist density: 5/5: This hike isn’t popular at all. During two days I encountered about ten people.
- Difficulty level: 5/5: Lots of climbing, no supply points, and loose volcanic ash make this hike very hard. You need good stamina.
- Sights: 5/5: Simply amazing views over Arequipa and the Andes.
- Camping: 3/5: This needs explanation. The place where I pitched my tent was beautiful, but be prepared for a cold night at 4500 meters. It also can get super windy at this altitude.
Trail information
Misti volcano hiking and camping
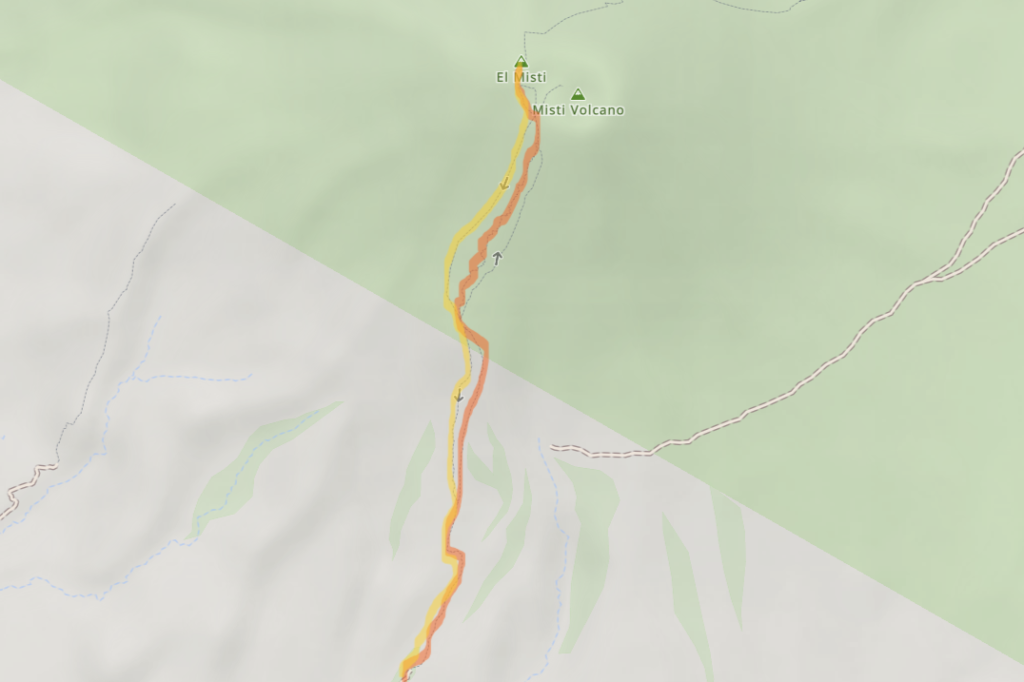
The Southern trail vs Northern trail
The Southern trail, also known as the “Chiguata Route,” is the one I did and will focus on in this guide. The trailhead is about 1.5 hours from the center of Arequipa, and you’ll start the hike at 3,415 meters.
The Northern trail is located further away from Arequipa. However, the advantage is that the hike is slightly shorter and easier. The downside, though, is that the trailhead is a 4 hours drive from Arequipa instead of 1.5 hours.
Renting gear
If you don’t have your own gear, don’t worry. There are plenty of rental shops in Arequipa where you can find everything you need for the Misti Volcano hike.
In fact, rental prices are quite reasonable. On average, you can expect to pay around €70 (about $80 USD) if you rent all the essential items. For example, this typically includes transportation, clothing, trekking poles, a tent, sleeping mat, sleeping bag, gas stove, headlamp, and hiking shoes.
A few good options in Arequipa are:
Group tours to the Misti Volcano
Besides going solo, you can also choose to join a group tour. In Arequipa, several operators offer guided trips, including Waiky Adventures and Quechua Explorers Andean Mountains. You can message them or visit in person to check available dates.
However, there is usually a minimum requirement of three people per group. Otherwise, you’ll need to cover the cost of the open spot(s) yourself.
Day to day guide
Preparation
First and foremost, before you attempt hiking the Misti Volcano, adjust to the high altitude for at least two days.
Secondly, this is a serious hike that reaches almost 6,000 m in altitude. If you start to feel unwell and your symptoms don’t improve, turn around.
DAY ONE
After leaving Arequipa at around 6:30 am, you’ll enjoy a nice 1.5 hour drive to the trailhead, located at an altitude of 3,415 meters.
Within the first 30 minutes, you’ll leave the city behind and already have beautiful views of the Andes mountains and the majestic Misti Volcano.
Nevertheless, you don’t need to start super early, since today you’ll hike about 3,8 km with around 1100 m elevation gain. The altitude and elevation gain makes today quite tough, but the hike is not very long.
In my case, I left quite early to avoid hiking in the heat. However, it’s absolutely fine to start a little later today, since you’ll need to wake up very early the next morning.
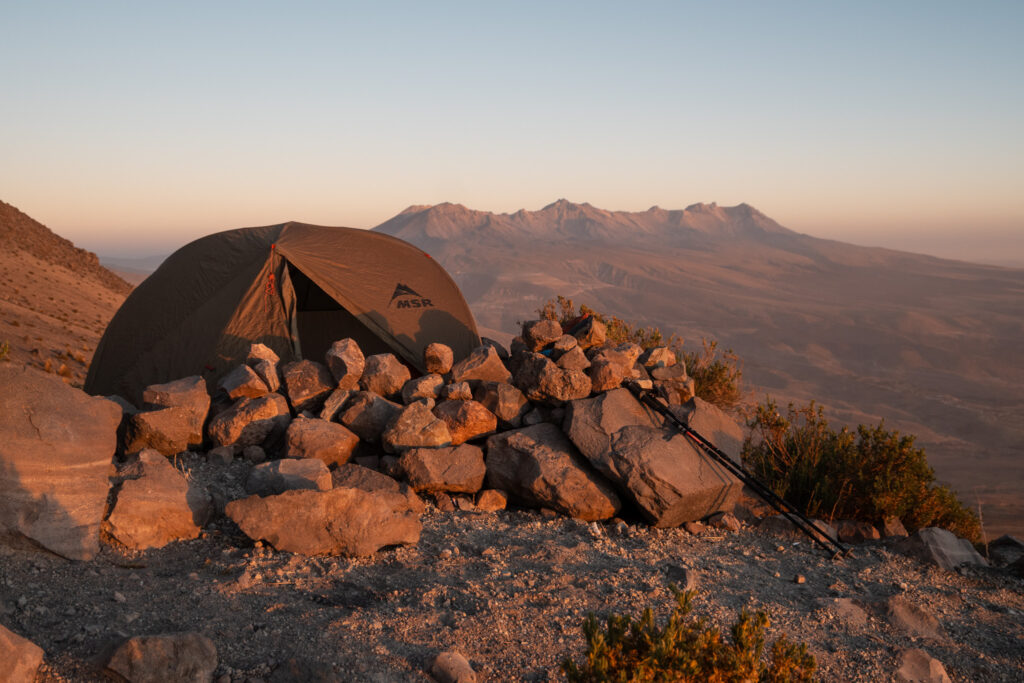
Tip: instead of hiking to Pirámides, you can also pitch your tent a little further up the volcano at base camp Campamento. This camp is located at approximately 4900 meters and will make day two a little easier.
Tip: Remember that on day two, only a daypack is needed for the summit. So leave the rest of your gear behind.
Misti volcano hiking and camping
DAY TWO
Today you’re going to want to put your alarm at around 3 am for a few reasons.
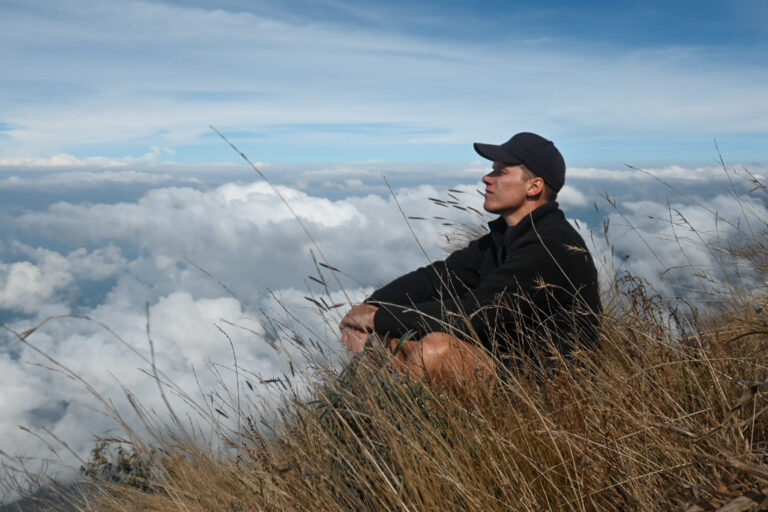
First of all, the sunrise is absolutely beautiful, for me this was easily one of the highlights of the Misti Volcano hike.
Secondly, starting early means you’ll enjoy clear views over Arequipa, before clouds begin to roll in and limit the views later in the morning.
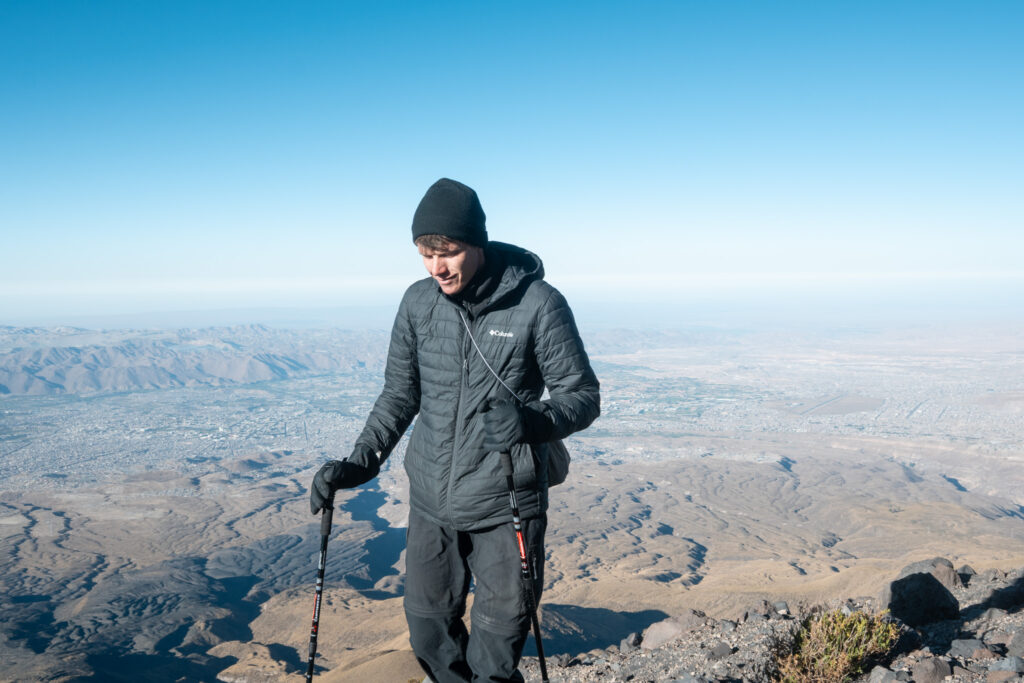
This is the longest and most challenging day of the hike. You’ll ascend from around 4,500 meters to the summit at 5,822 meters, all while trekking at high altitude, where the air is thinner and every step requires more effort.
Starting before sunrise gives you a beautiful sunrise view, better margin, and better temperatures.
The descend
After enjoying the incredible views at the summit, you’ll back down. The good news is that the descent is much easier, as you can “mountain-ski” down a big section, because of the volcanic ash.
You also won’t follow the same route down. Instead, you’ll descend via the volcanic ash trail, which is slightly west of the trail you used to climb up (The yellow line in the map earlier this post).
Tip: good news, there’s signal at the top of the Misti Volcano, so you can text or call your driver before descending.
Tip: schedule a rest day after Misti. The hike is exhausting, and you won’t feel like traveling or rushing anywhere.
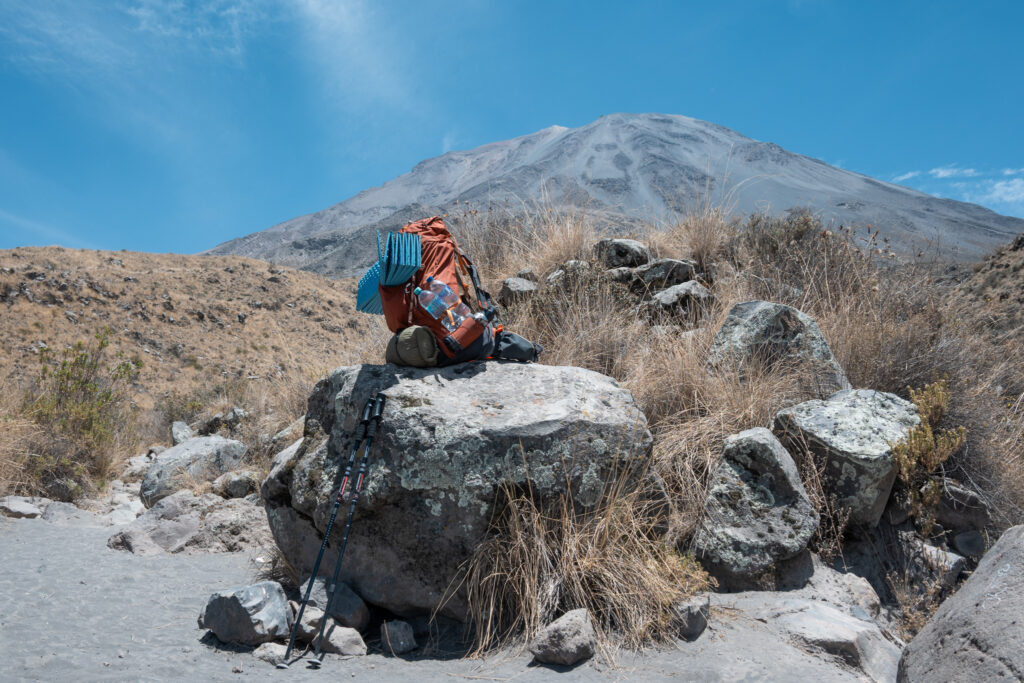
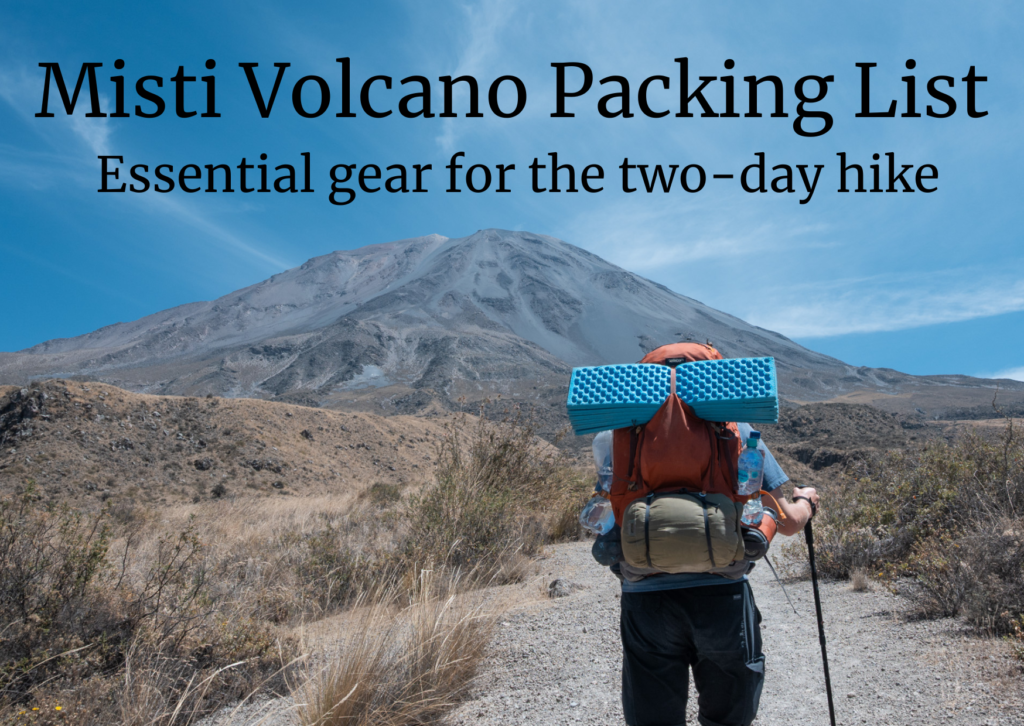
Packing list
- Your best hiking shoes (good grip is necessary)
- Backpack 40-70 L
- A small day hiking backpack for day two
- Camp gear
- 4-6 liters of water (you can’t get water anywhere during the hike)
- Electrolytes
- Warm layers for the summit
- Gloves
- Sun protection
- Sunglasses
- Hat or cap
- Headlamp (for the early morning start at day two)
- Maps.me app and the offline map downloaded
- Nuts, bars, chocolate or fruits
- Dinner, breakfast, lunch
- Gas stove
- Hiking poles. For this hike I’d absolutely recommend them
Conclusion: The ultimate Misti volcano hiking guide
Hiking the Misti volcano is a challenging but incredibly rewarding experience. With proper preparation, the climb becomes far more enjoyable.
If you pace yourself well and adjust to the high altitude, then this hike will easily become one of the highlights of your time in Peru.
Follow me on Instagram for more travel stories, hiking guides, and bikepacking tips.
Want to keep reading? You can find all posts here.
I would love to have you along for the journey!
– Bart

Buy me a coffee ☕
I created breakawaywithbart because I love writing, sharing experiences, and helping others plan their own adventures.
The site is completely free, with no ads or sponsored content, by choice.
If this post helped you in any way, you can support my work by buying me a coffee via the button below. Completely optional, but always appreciated!